How do you actually make and upload a character image to Novelez?
May 26, 2026
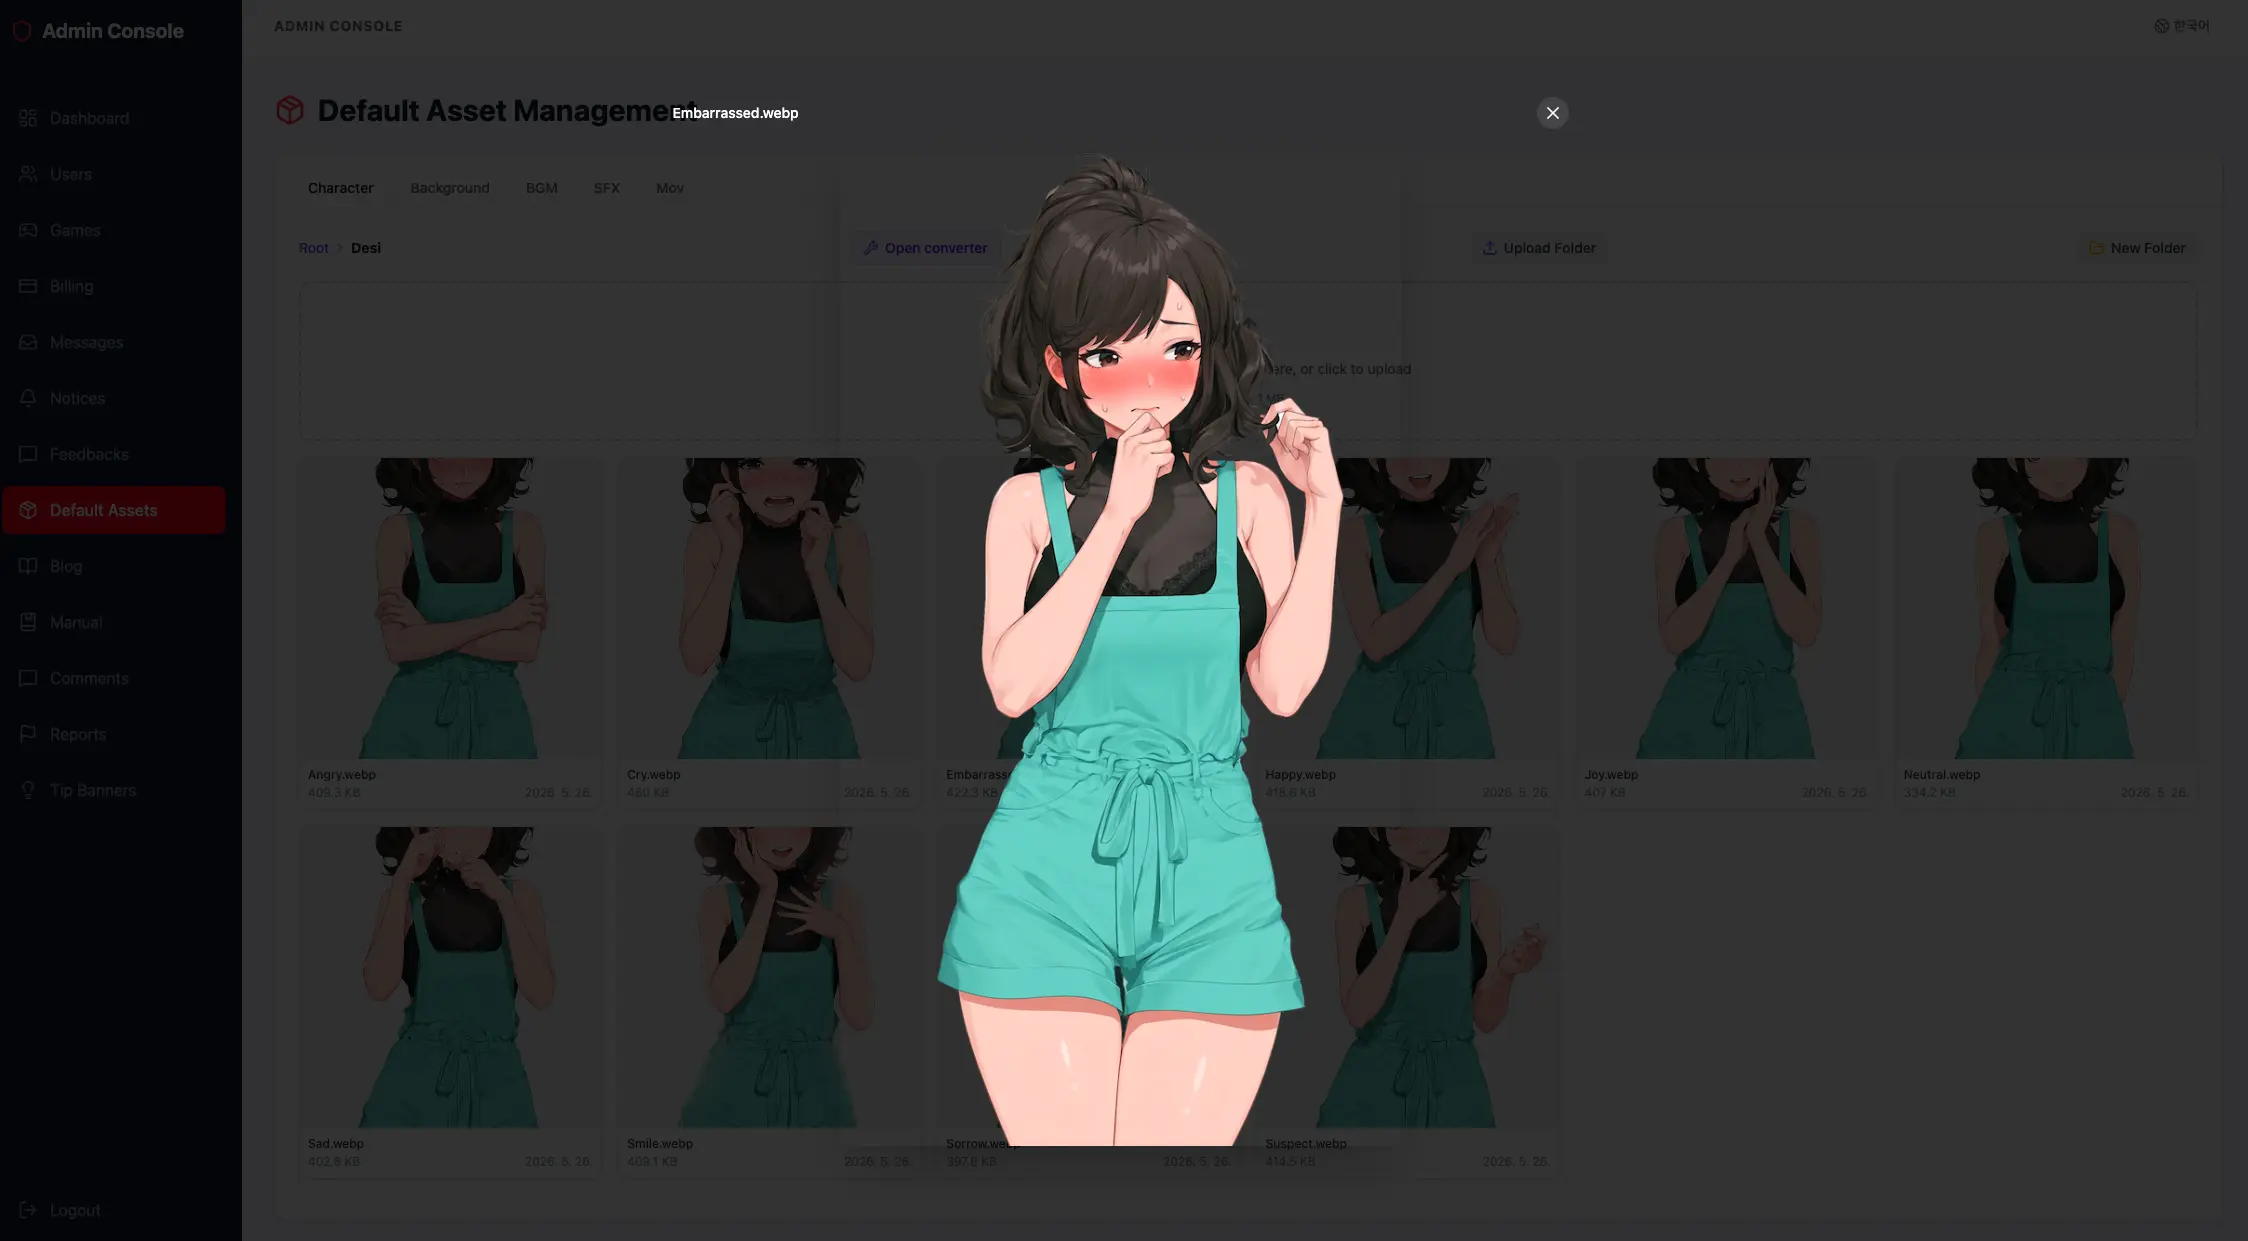
ver wanted to make your own character for your game but had no idea where to start?
Yeah, I've been there too. Sure, you can generate art with AI — but how do you remove the background? What size do you upload to Novelez? How do you make the same character with different expressions? It's easy to get stuck right at the beginning.
Today I'll walk you through the exact character pipeline I use, from start to finish. By the end, you'll have a clean transparent character sitting in your Novelez asset folder, ready to use.
🎨 Step 1 — Get the base image right
First thing: generate your base character image. Two things make the rest of this process way easier.
Use a 9:16 portrait ratio. Novelez displays characters standing vertically on the side of the screen. Starting vertical means nothing important gets cropped later.
Make the background plain white. You'll remove it soon, and white separates the cleanest. Busy backgrounds eat into the character's outline and that gets sad fast.
🍌 Step 2 — Which AI should you use?
There are so many options now — Nano Banana, ChatGPT, Midjourney, all of them are great. Just pick what feels right to you.
I personally love Midjourney, so that's where I generate my base. It's less about which one "draws better" and more about which tool you're comfortable with. The familiar one is the fastest one.
One tip — include something like "facing forward" in your prompt. It makes generating expression variations way easier later. If your base starts in a side or three-quarter pose, the variants come out awkward.
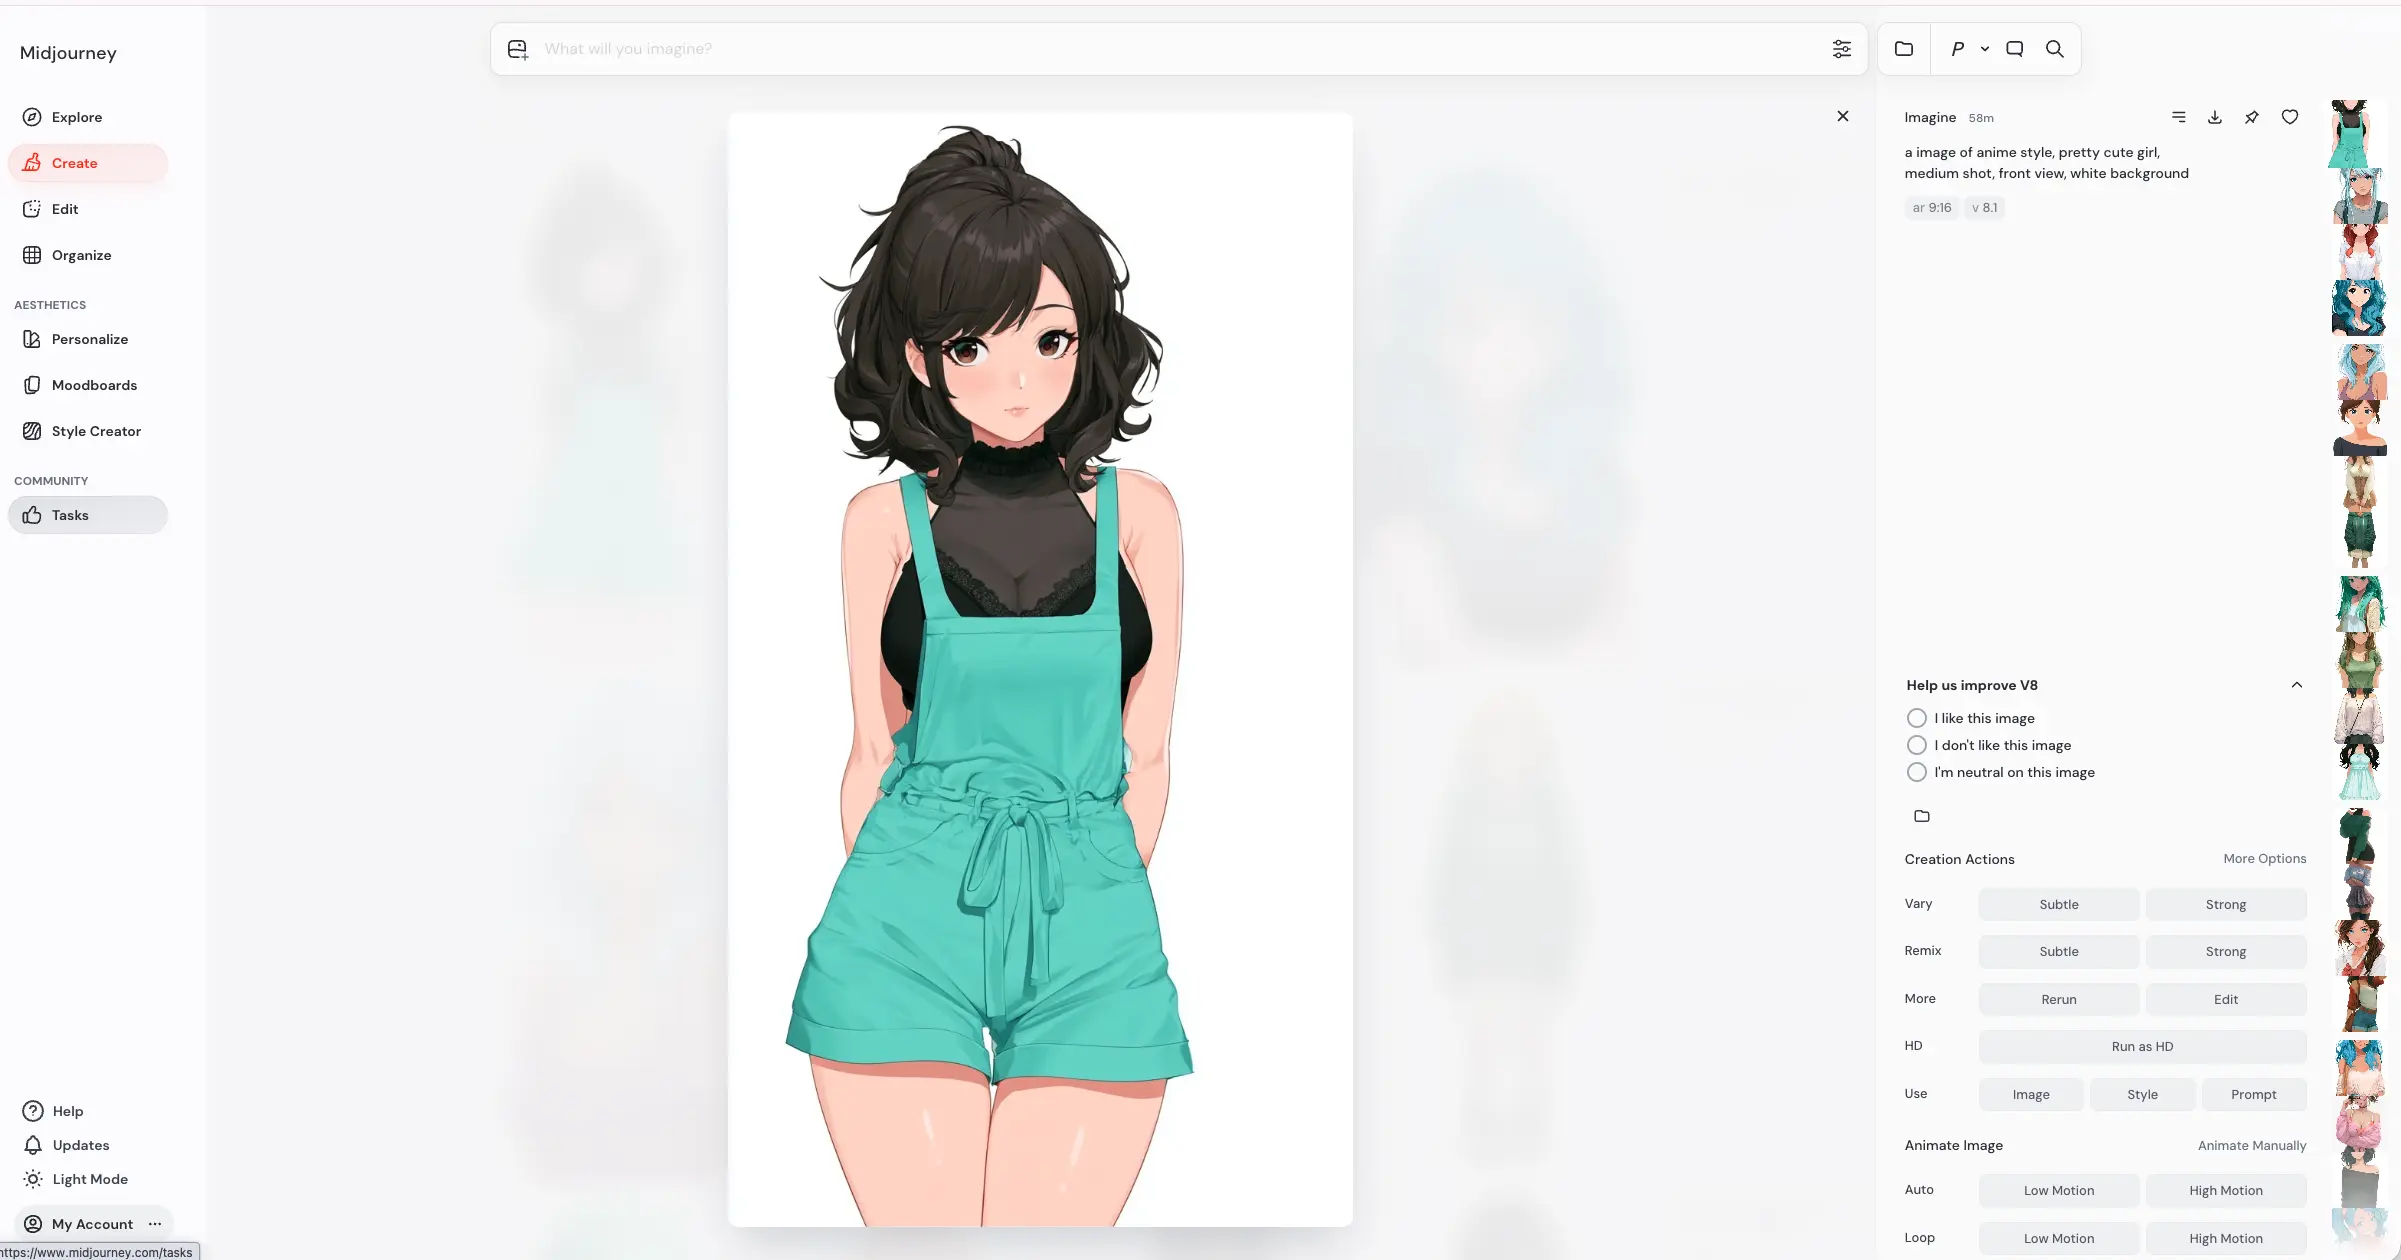
If you got one you like, let's use it to build the expression set.
✂️ Step 3 — Tiny cleanup in Photoshop
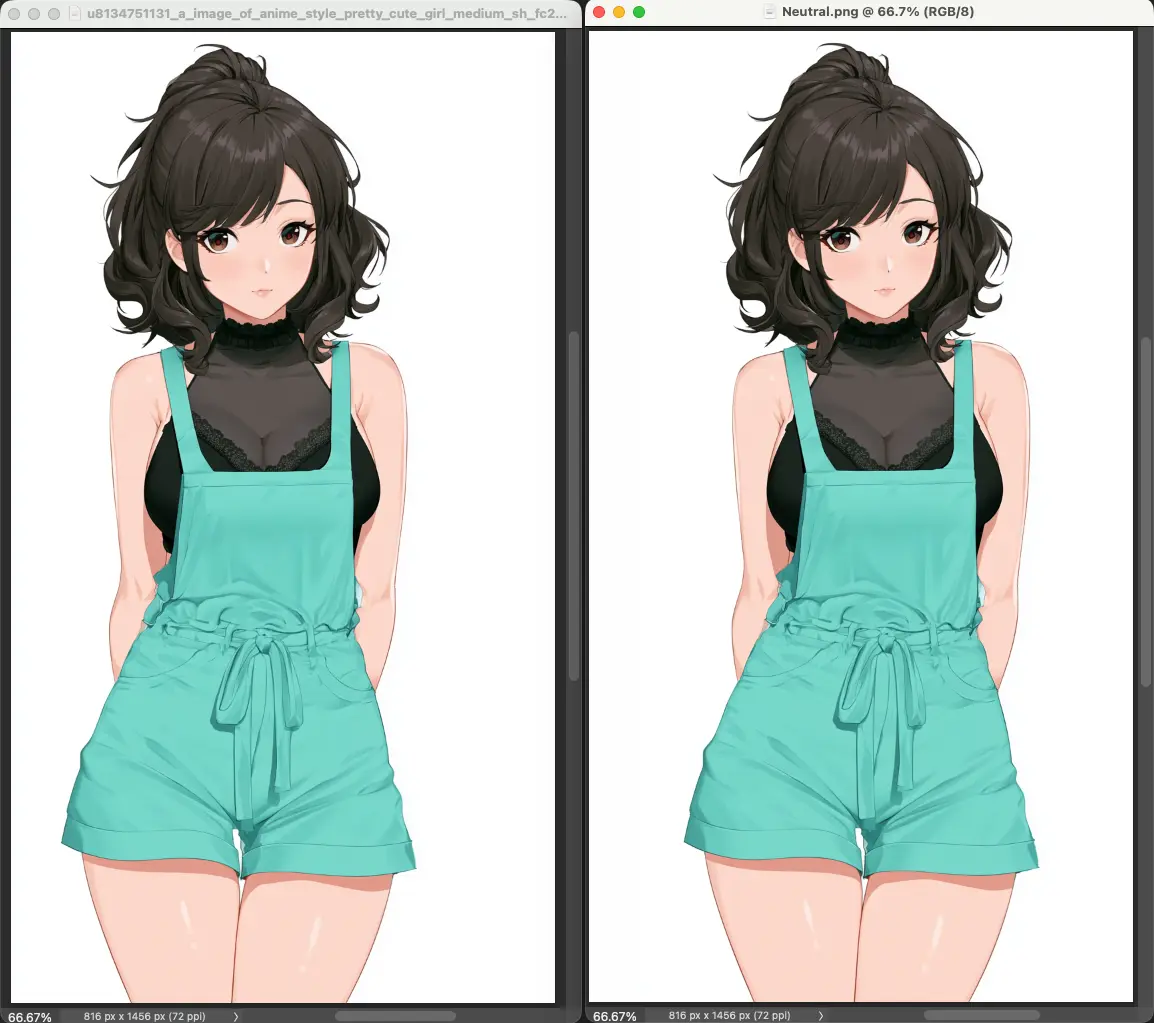
Sometimes the generated character isn't perfectly centered. I do a quick fix in Photoshop — move the character to center and save out the file.
This small bit of housekeeping actually improves the next step (expression and gesture variations) a lot. AI tends to follow the composition of the original, so a clean base produces clean variants.
😀 Step 4 — Expressions and gestures via Nano Banana 2
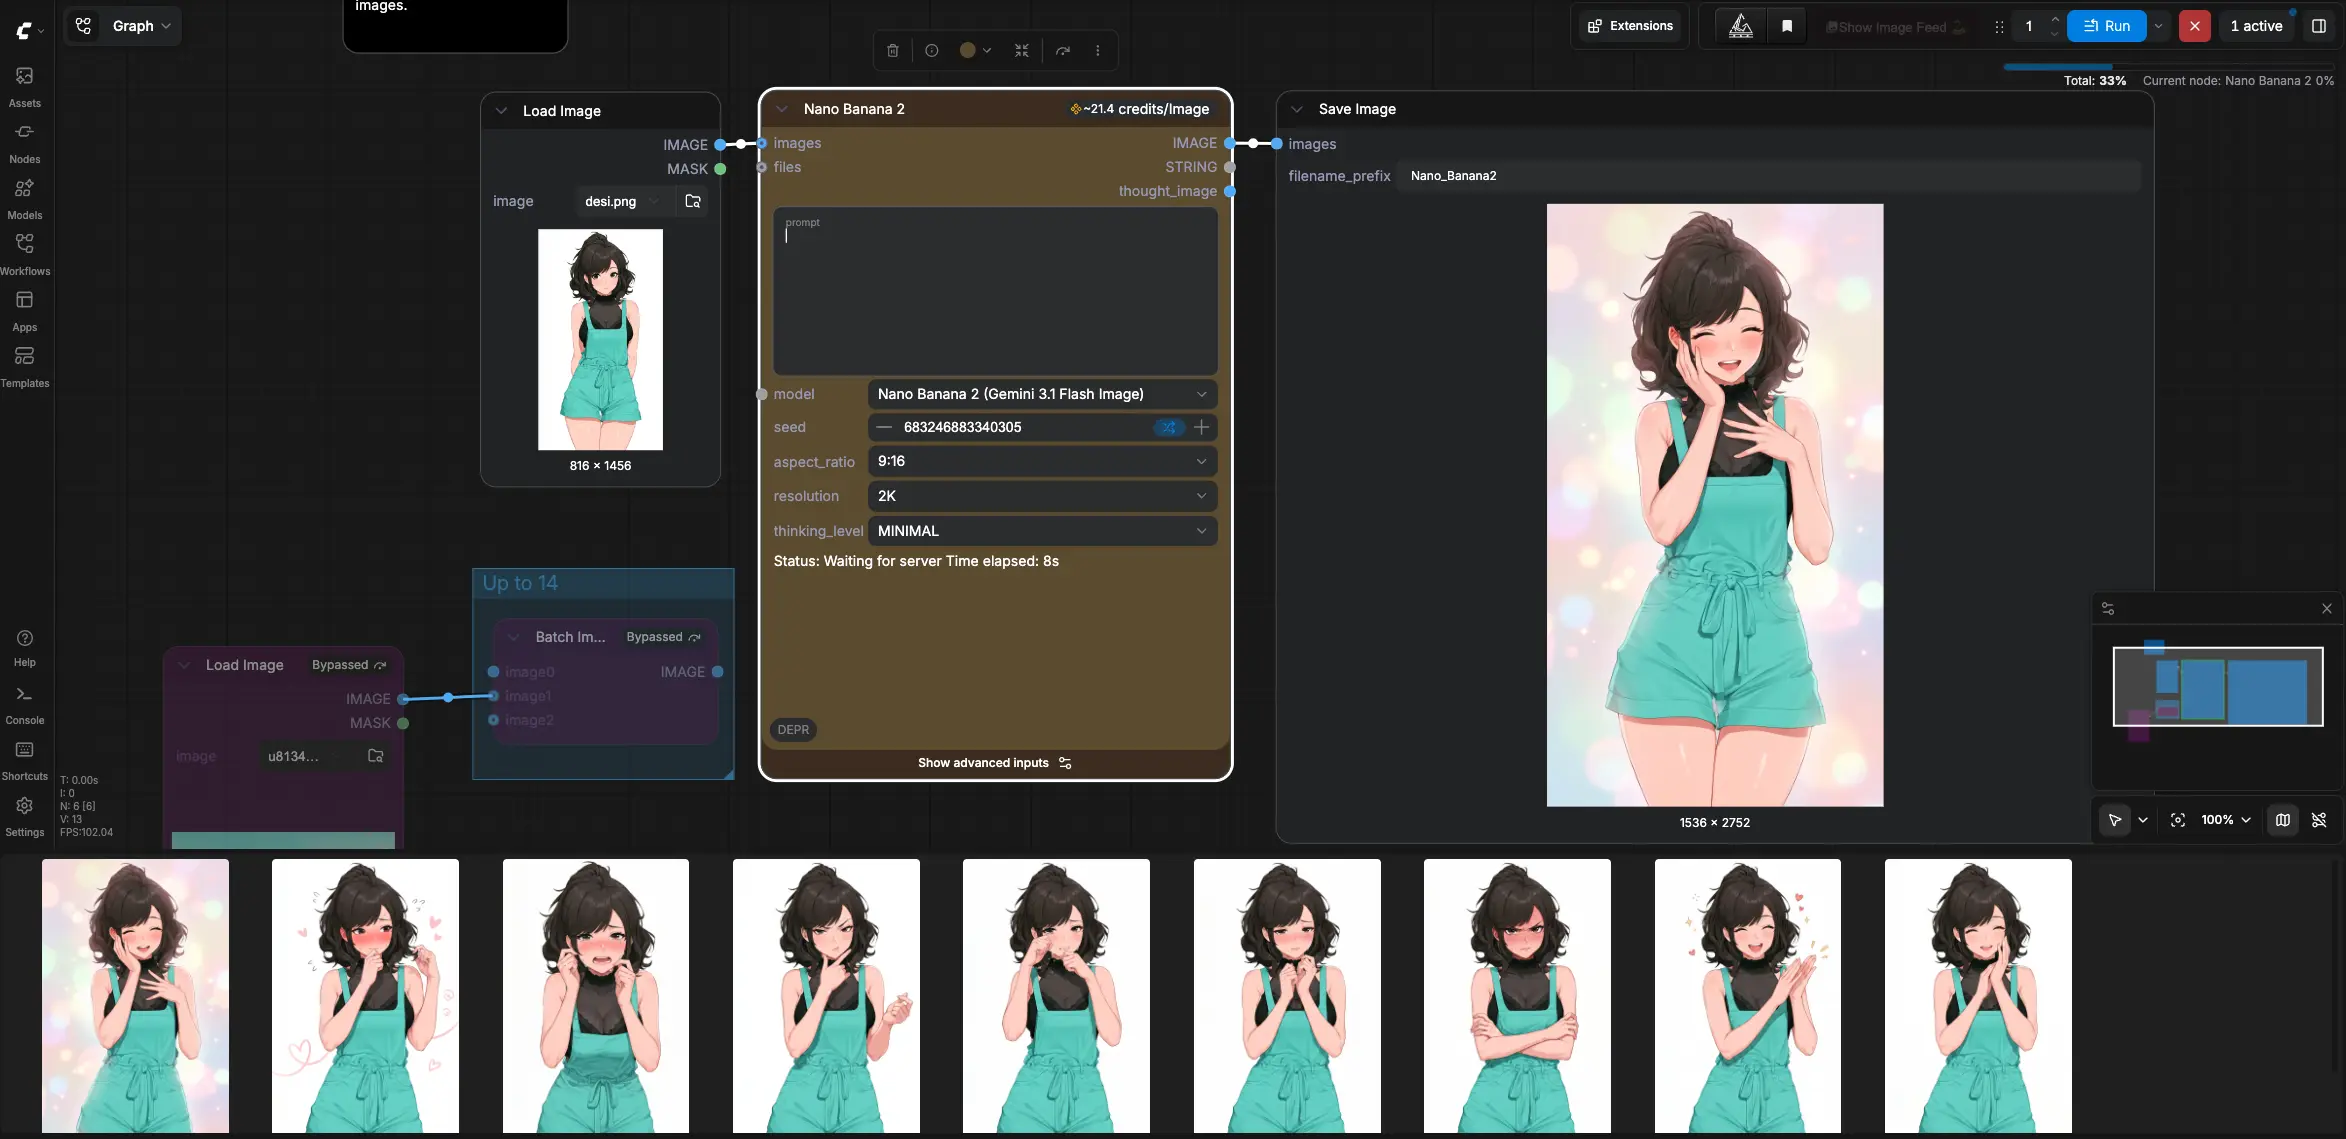
Time to make the expression set. I use Nano Banana 2 for this, running it in ComfyUI.
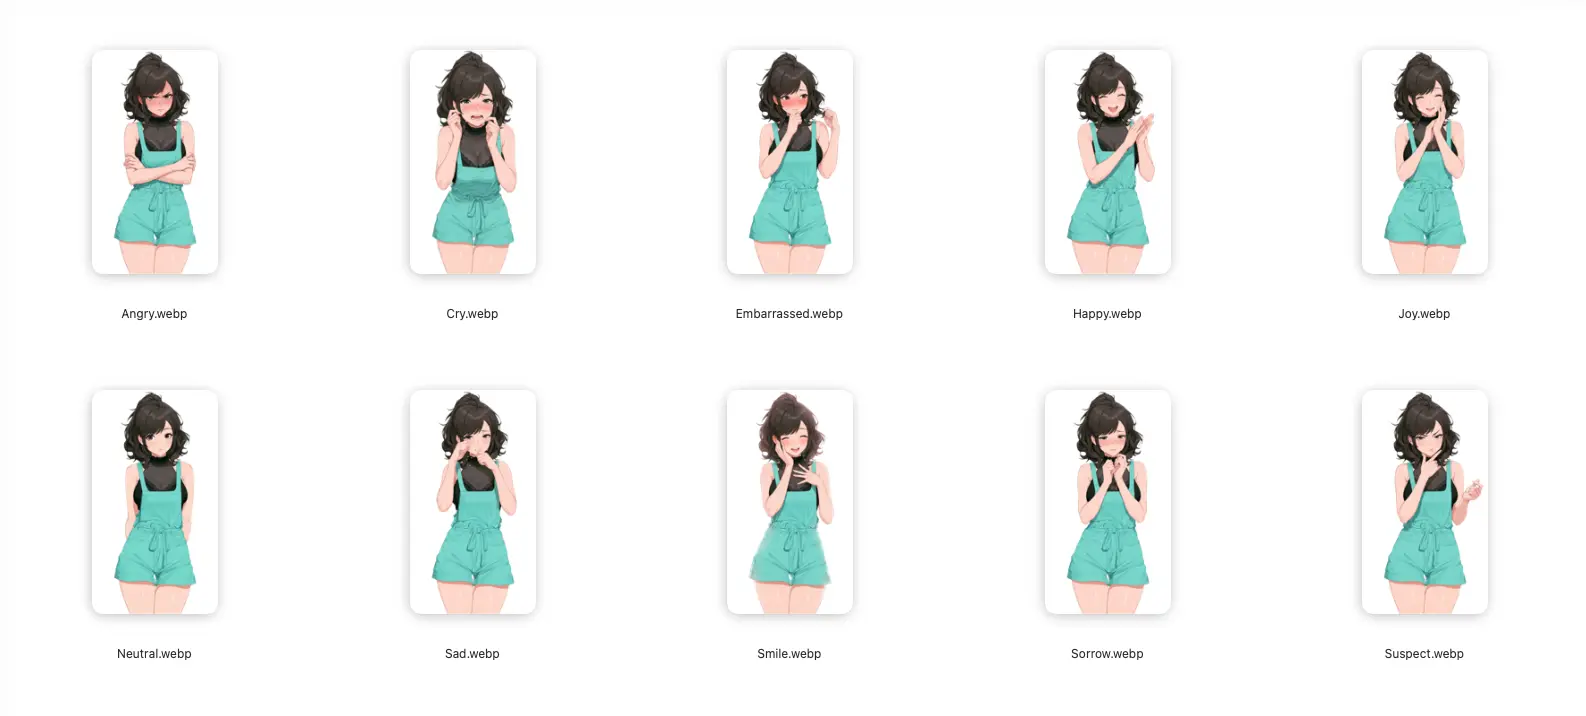
From the same base character I generate smiling, surprised, angry, waving — whatever the game needs. Swapping character cuts based on what's happening in the story changes the feel completely. It's the difference between "static portrait" and "this character is alive."
🧹 Step 5 — One-click background removal in Photoshop
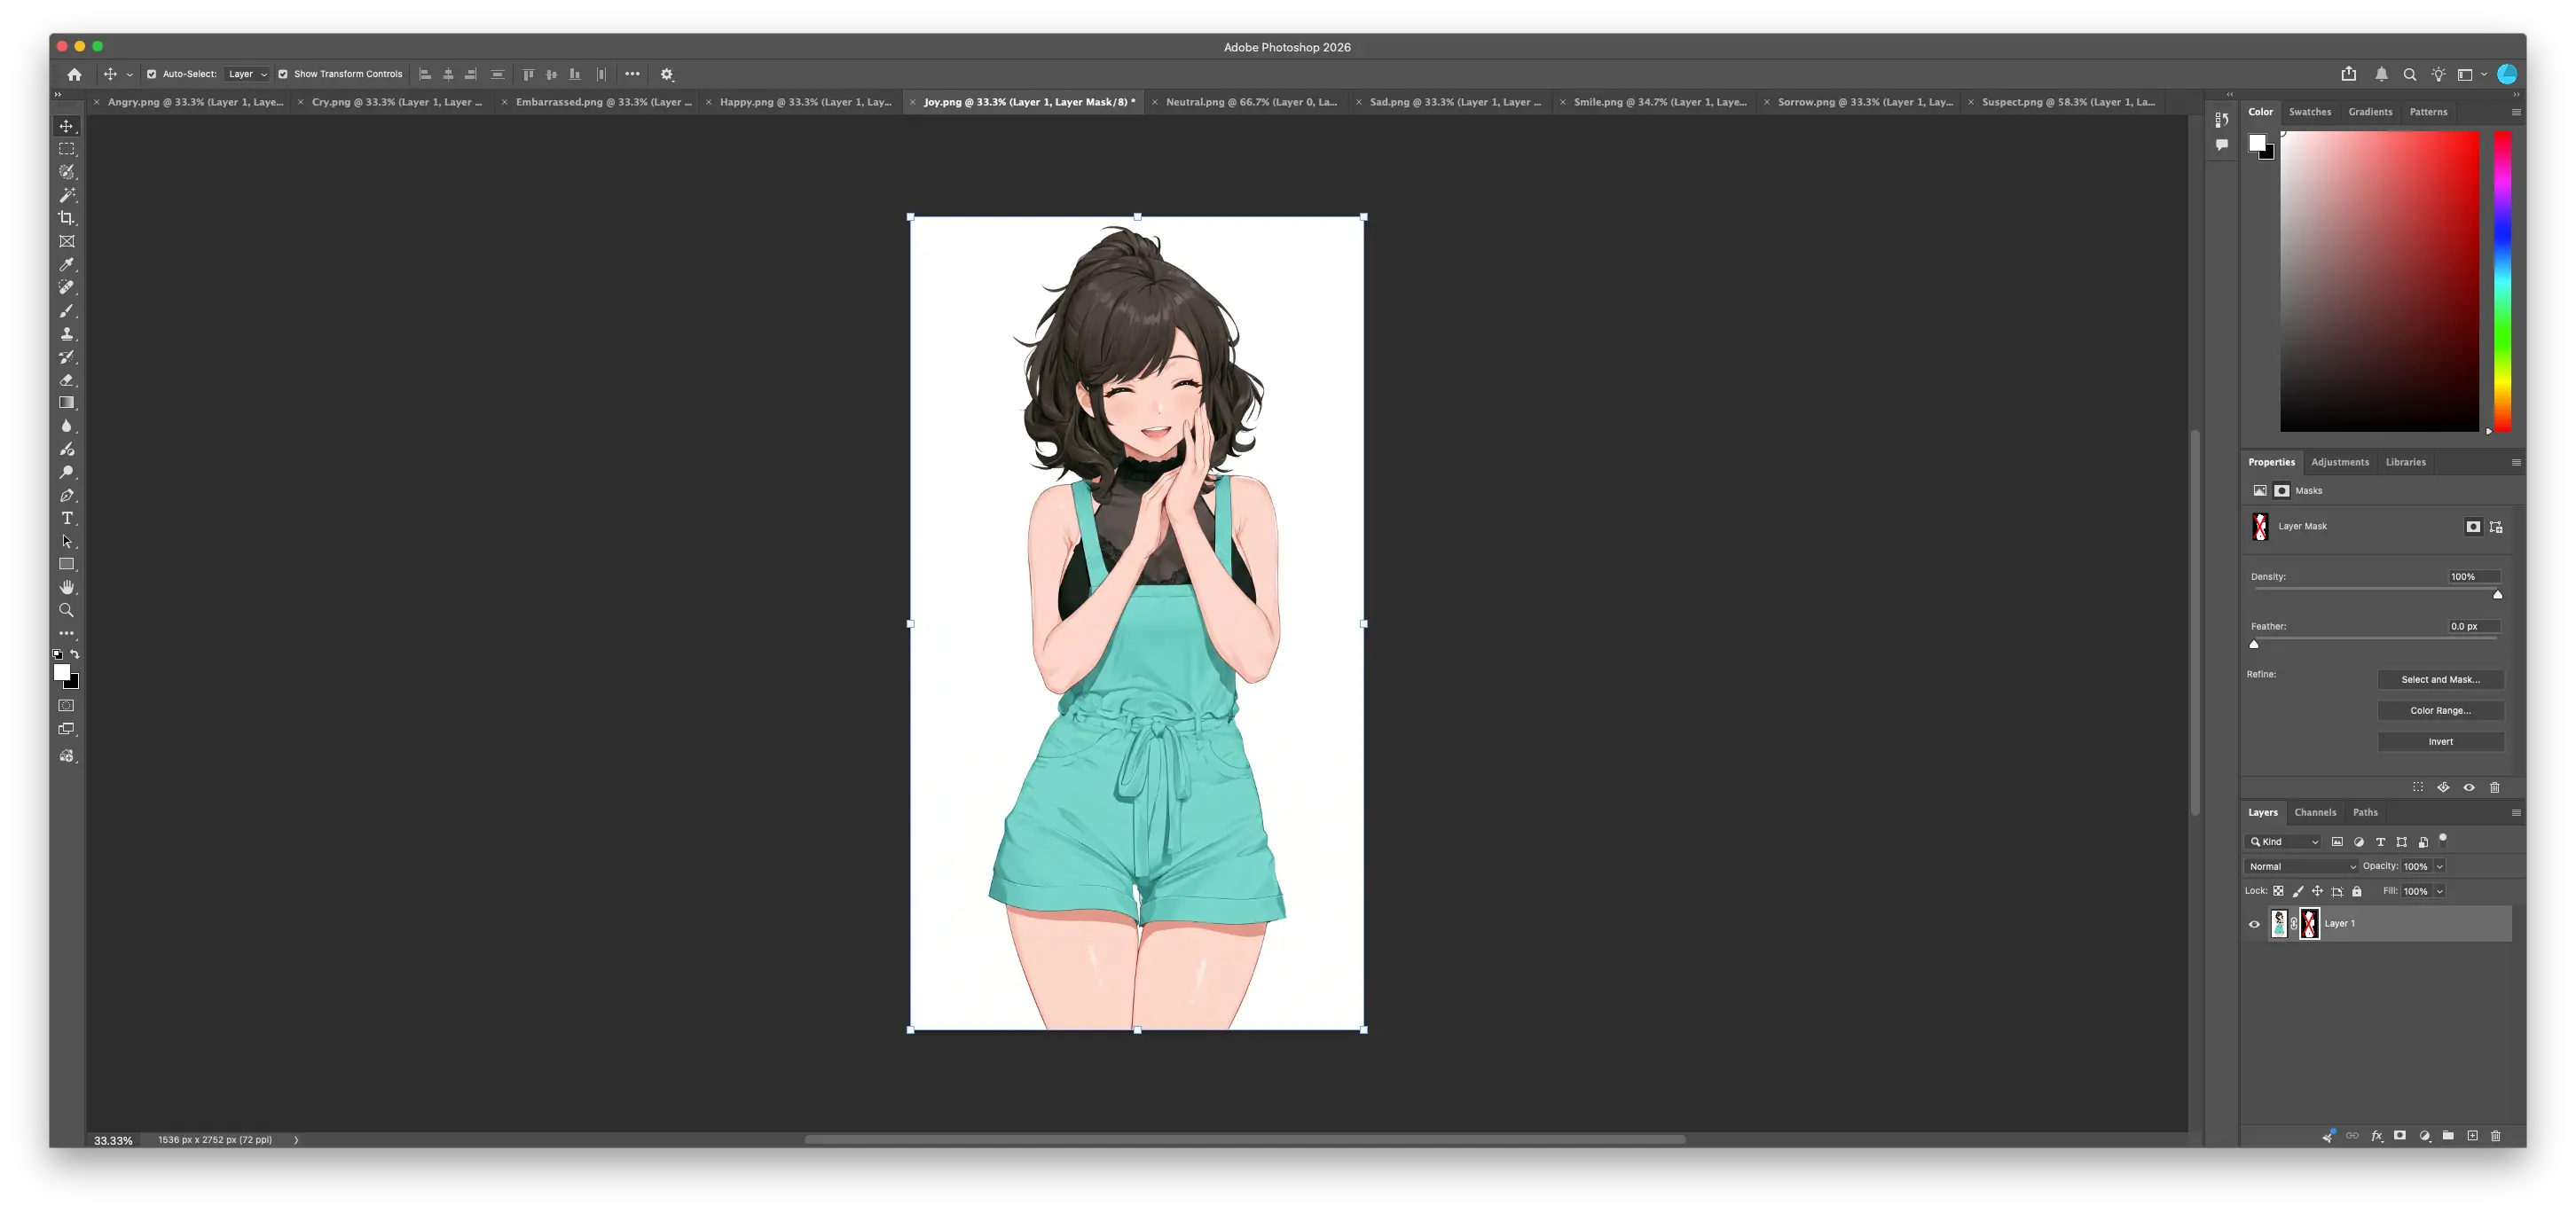
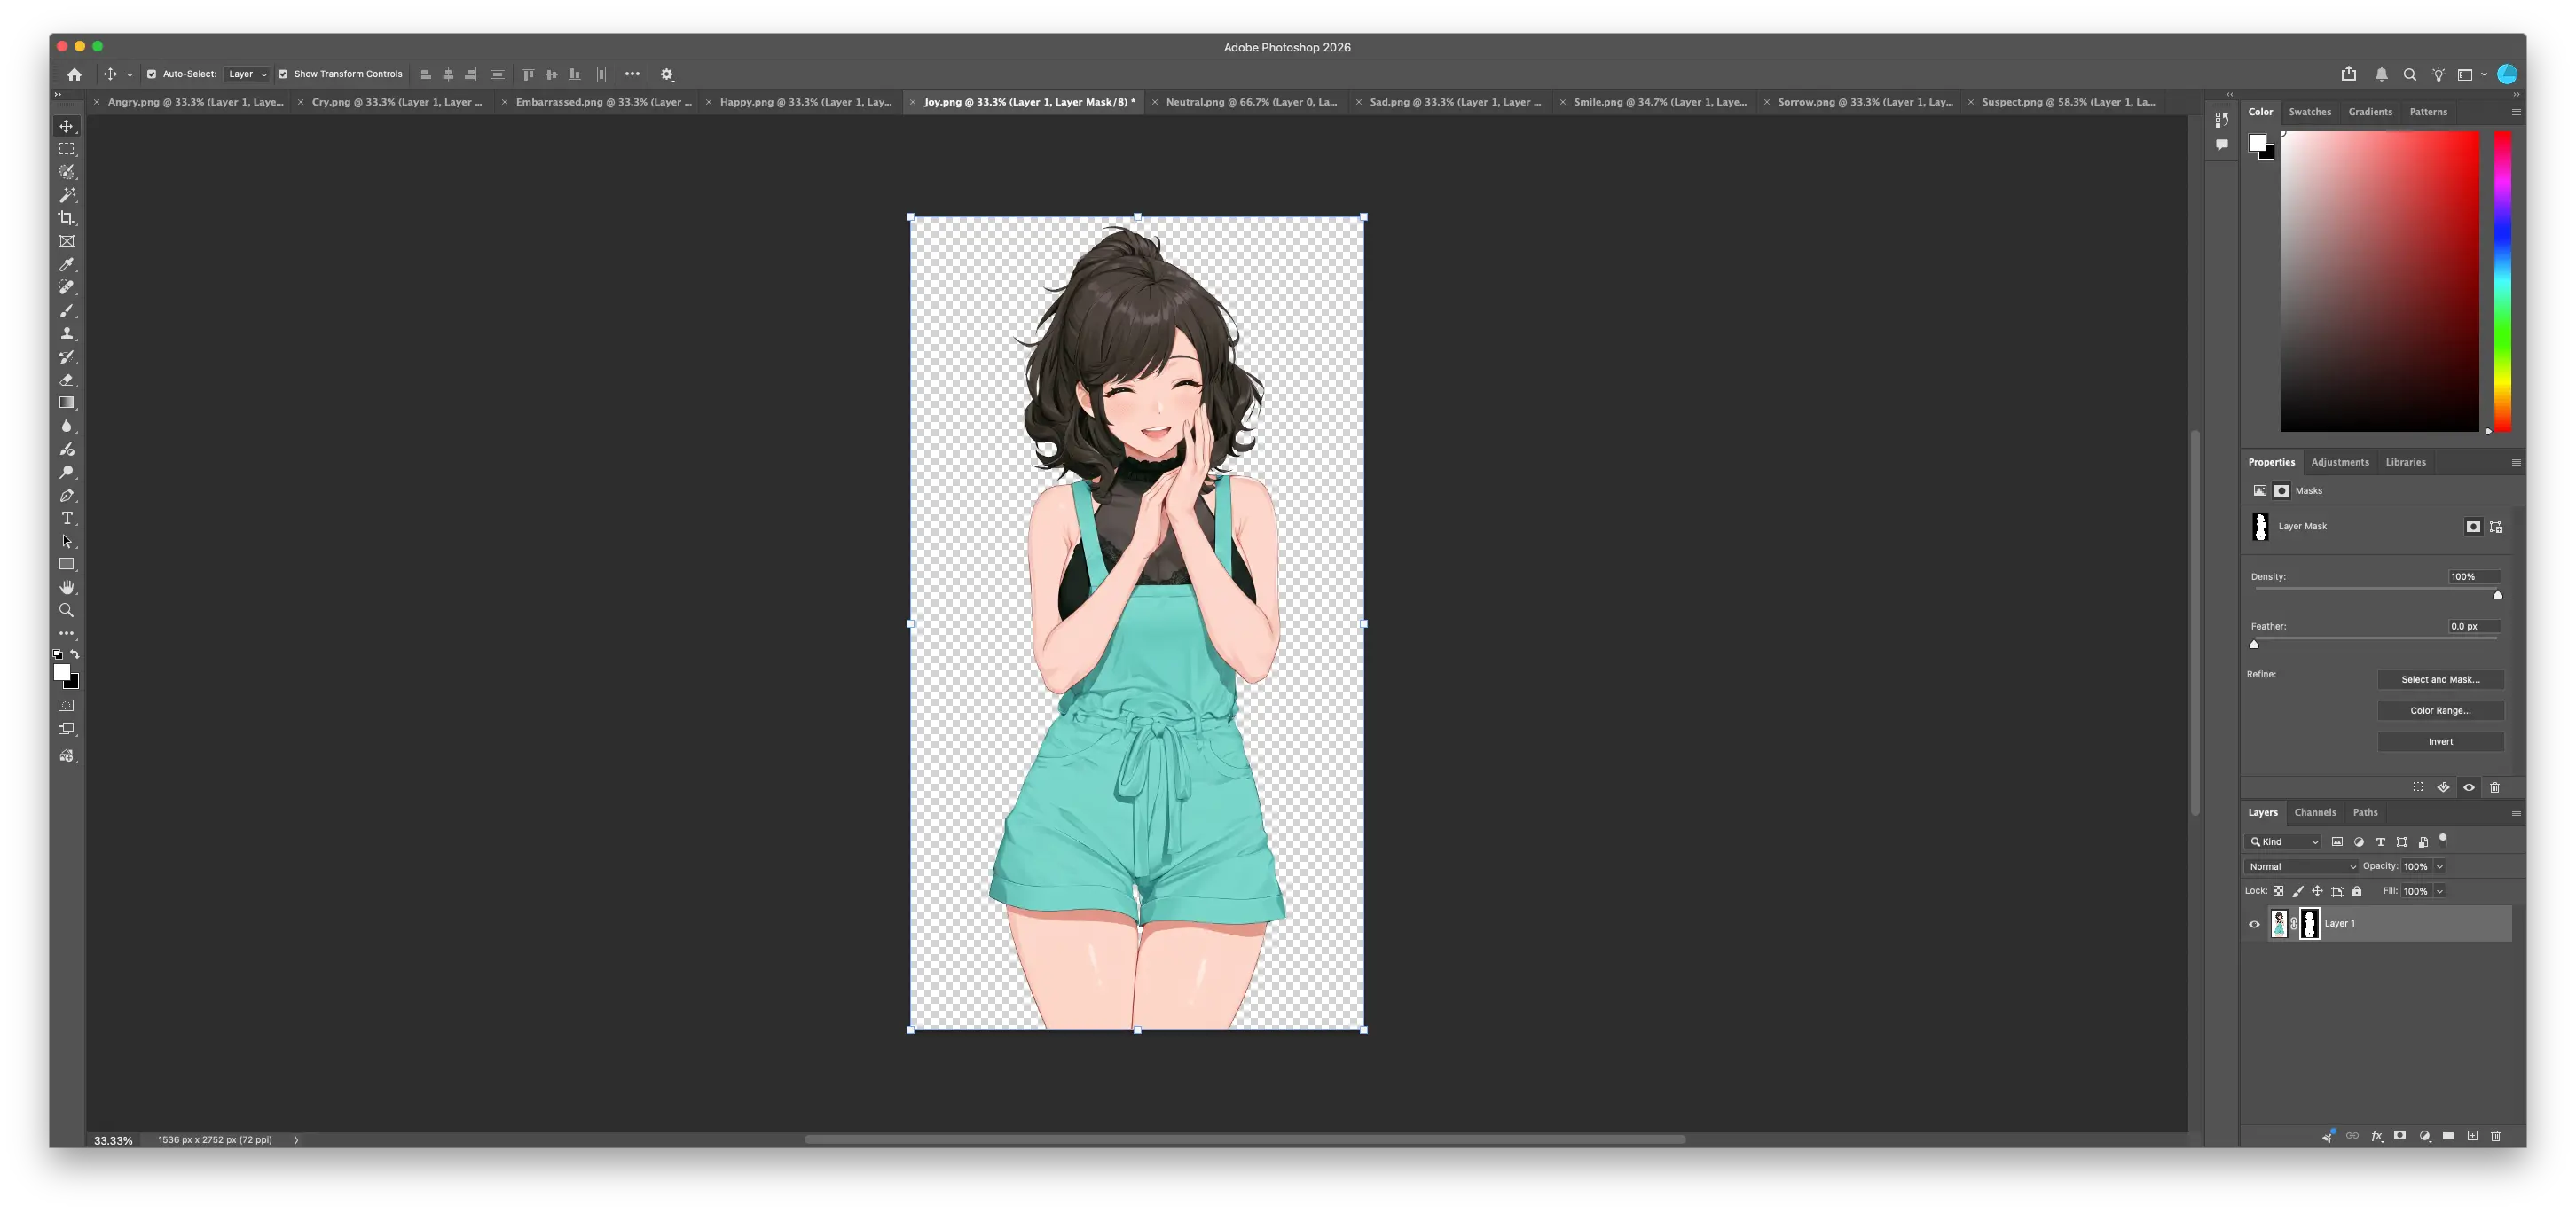
Got all your expression cuts? Time to drop the backgrounds.
Photoshop makes this a one-click job. Hit "Remove Background" apply, done. (No Photoshop? remove.bg or Photopea work just fine for free.)
📐 Step 6 — Resize to fit Novelez
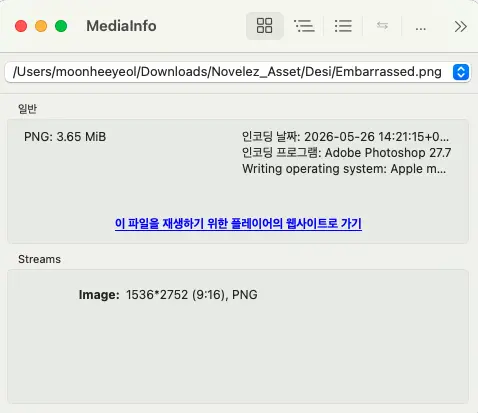
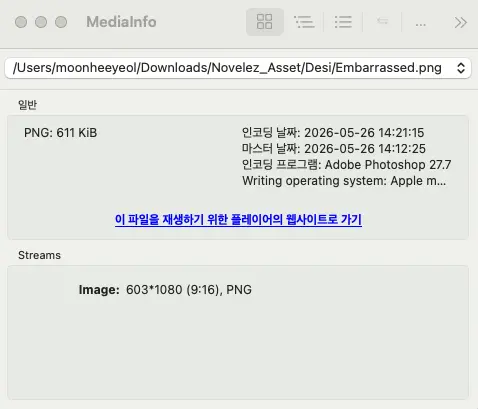
The transparent character needs to be the right size so it shows up properly in Novelez.
Novelez renders scenes at 1920x1080 resolution, so I match the character's height to 1080 pixels. Skip this and the character will look too small or get awkwardly cropped on screen.
📤 Step 7 — Upload to Novelez
Now for the actual upload.
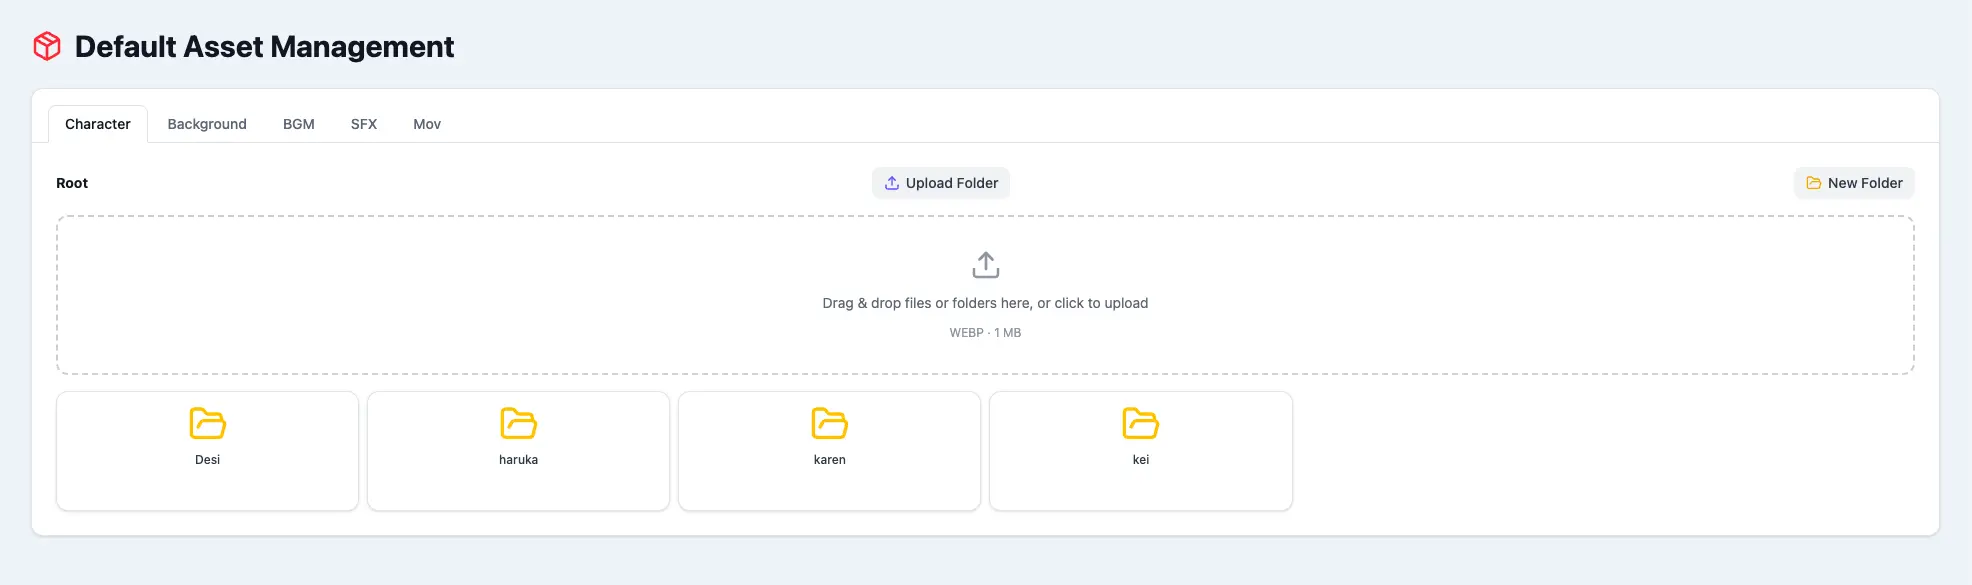
I'm putting this in Global Assets so anyone can use Desi in their own games. Sharing makes the whole thing more fun.
Set up a folder structure first. Inside the Characters folder, make a subfolder named after the character. This keeps things tidy as you build up more characters over time. I'm calling this one Desi.
🔁 Step 8 — Auto-convert to webp
When you start uploading, a window will pop up.
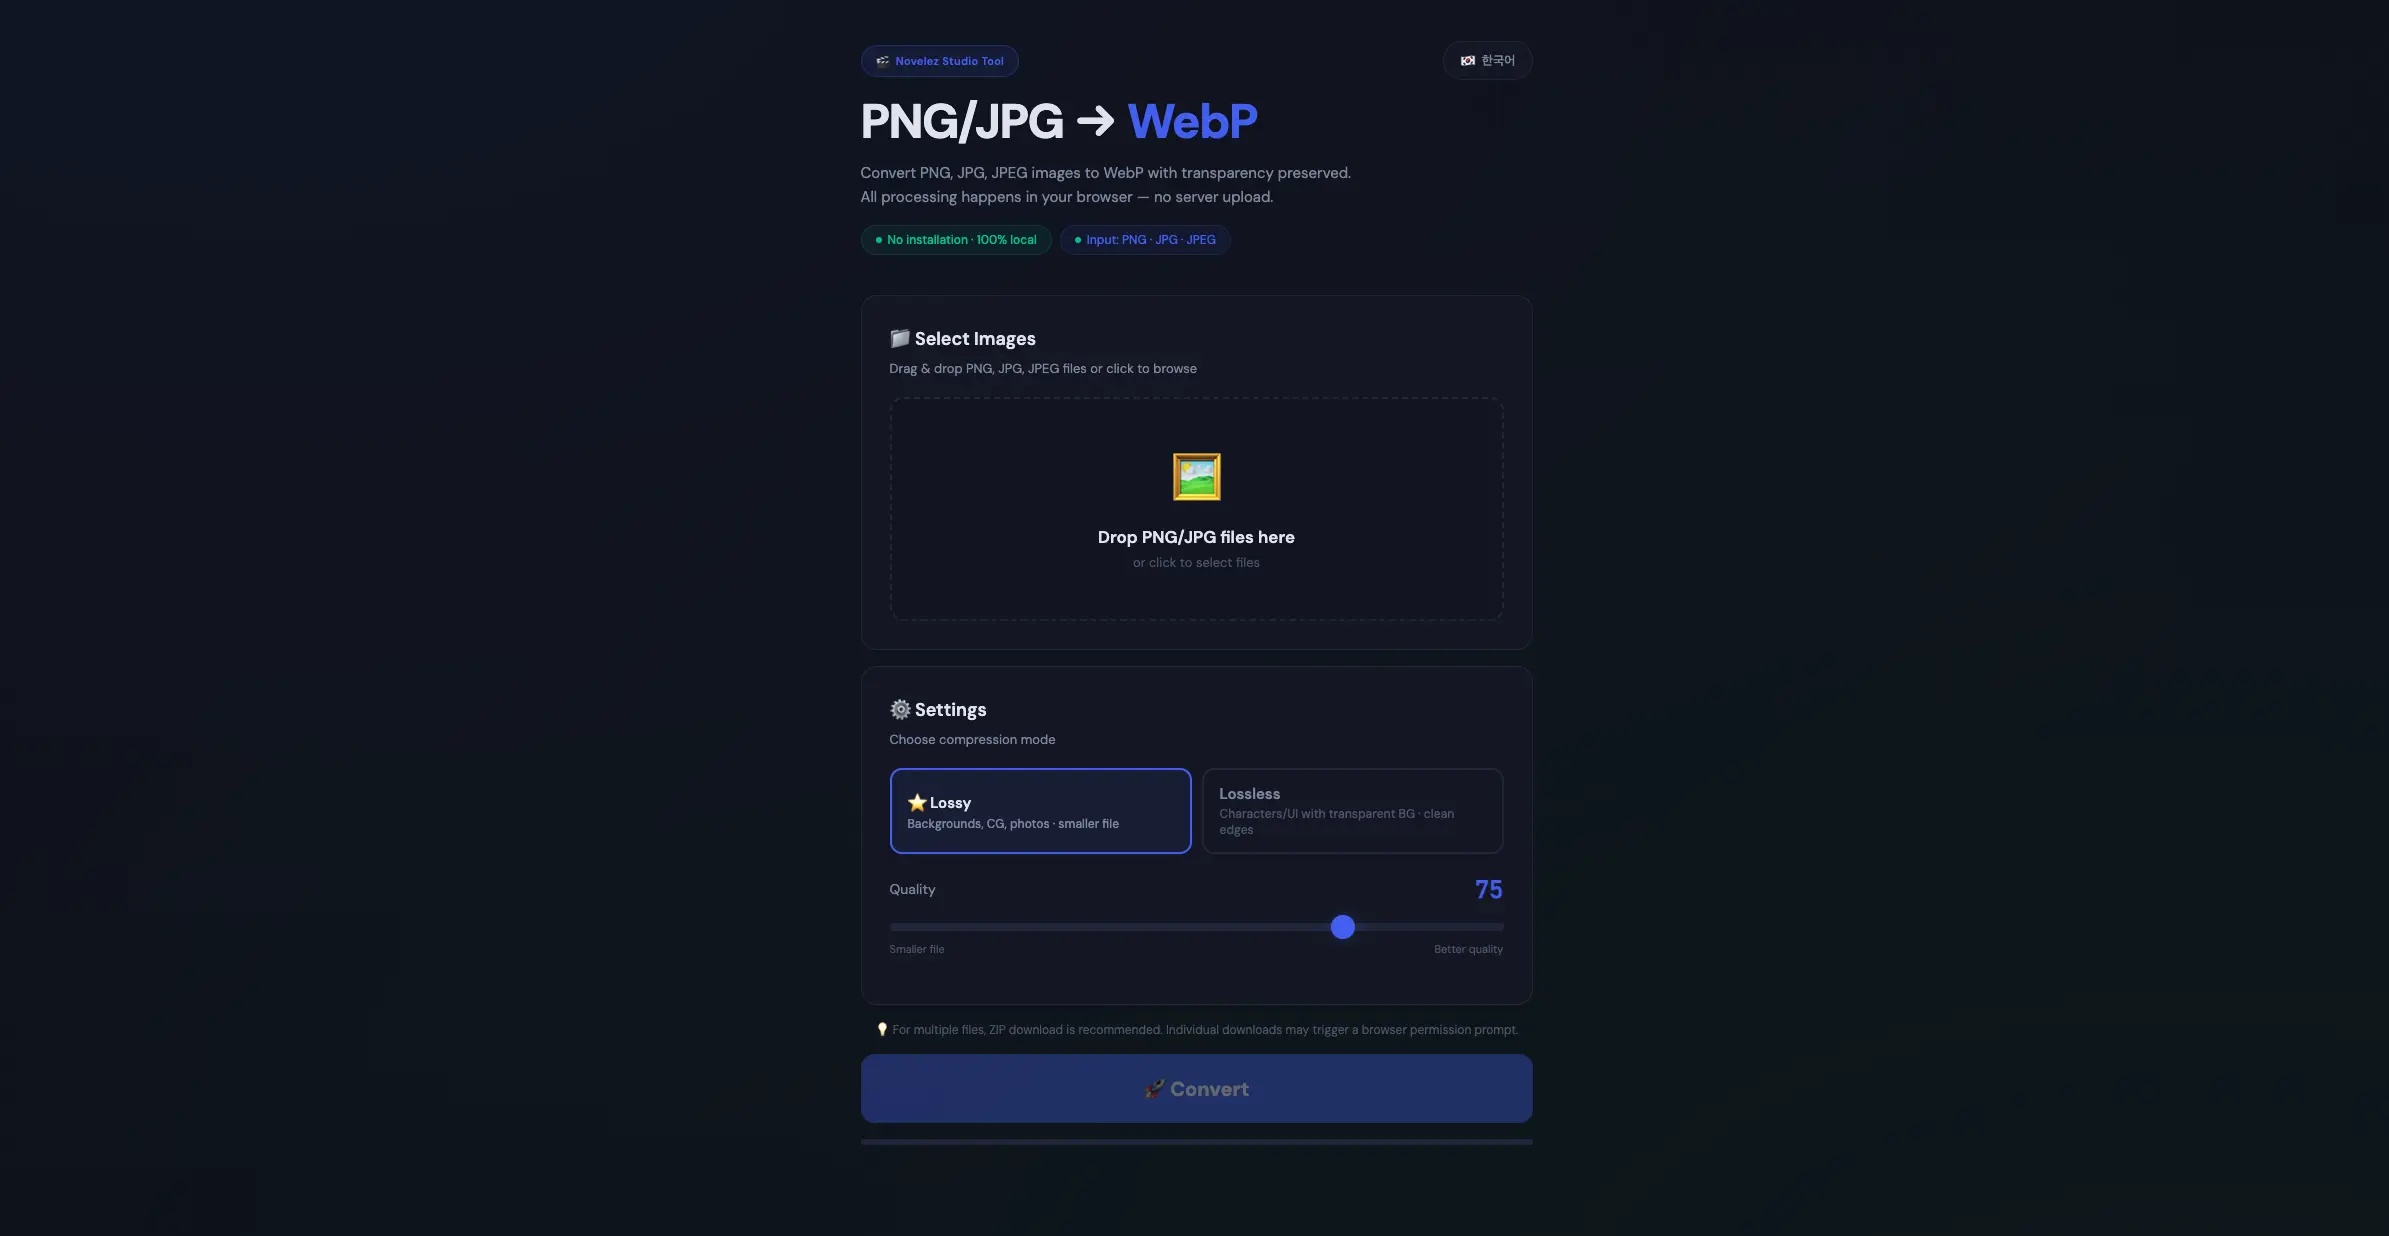
Novelez only officially supports webp. You technically can upload png or jpeg, but I don't recommend it. Two reasons:
1️⃣ Asset size grows fast and eats up your free-plan storage.
2️⃣ Players load larger images more slowly, which breaks game immersion.
webp gives you small file size with great quality — basically perfect for game assets.
So if you try to upload anything that isn't webp, a png-to-webp converter pops up automatically. Don't worry — the conversion runs locally on your PC, not on the server, so it's blazing fast.
)
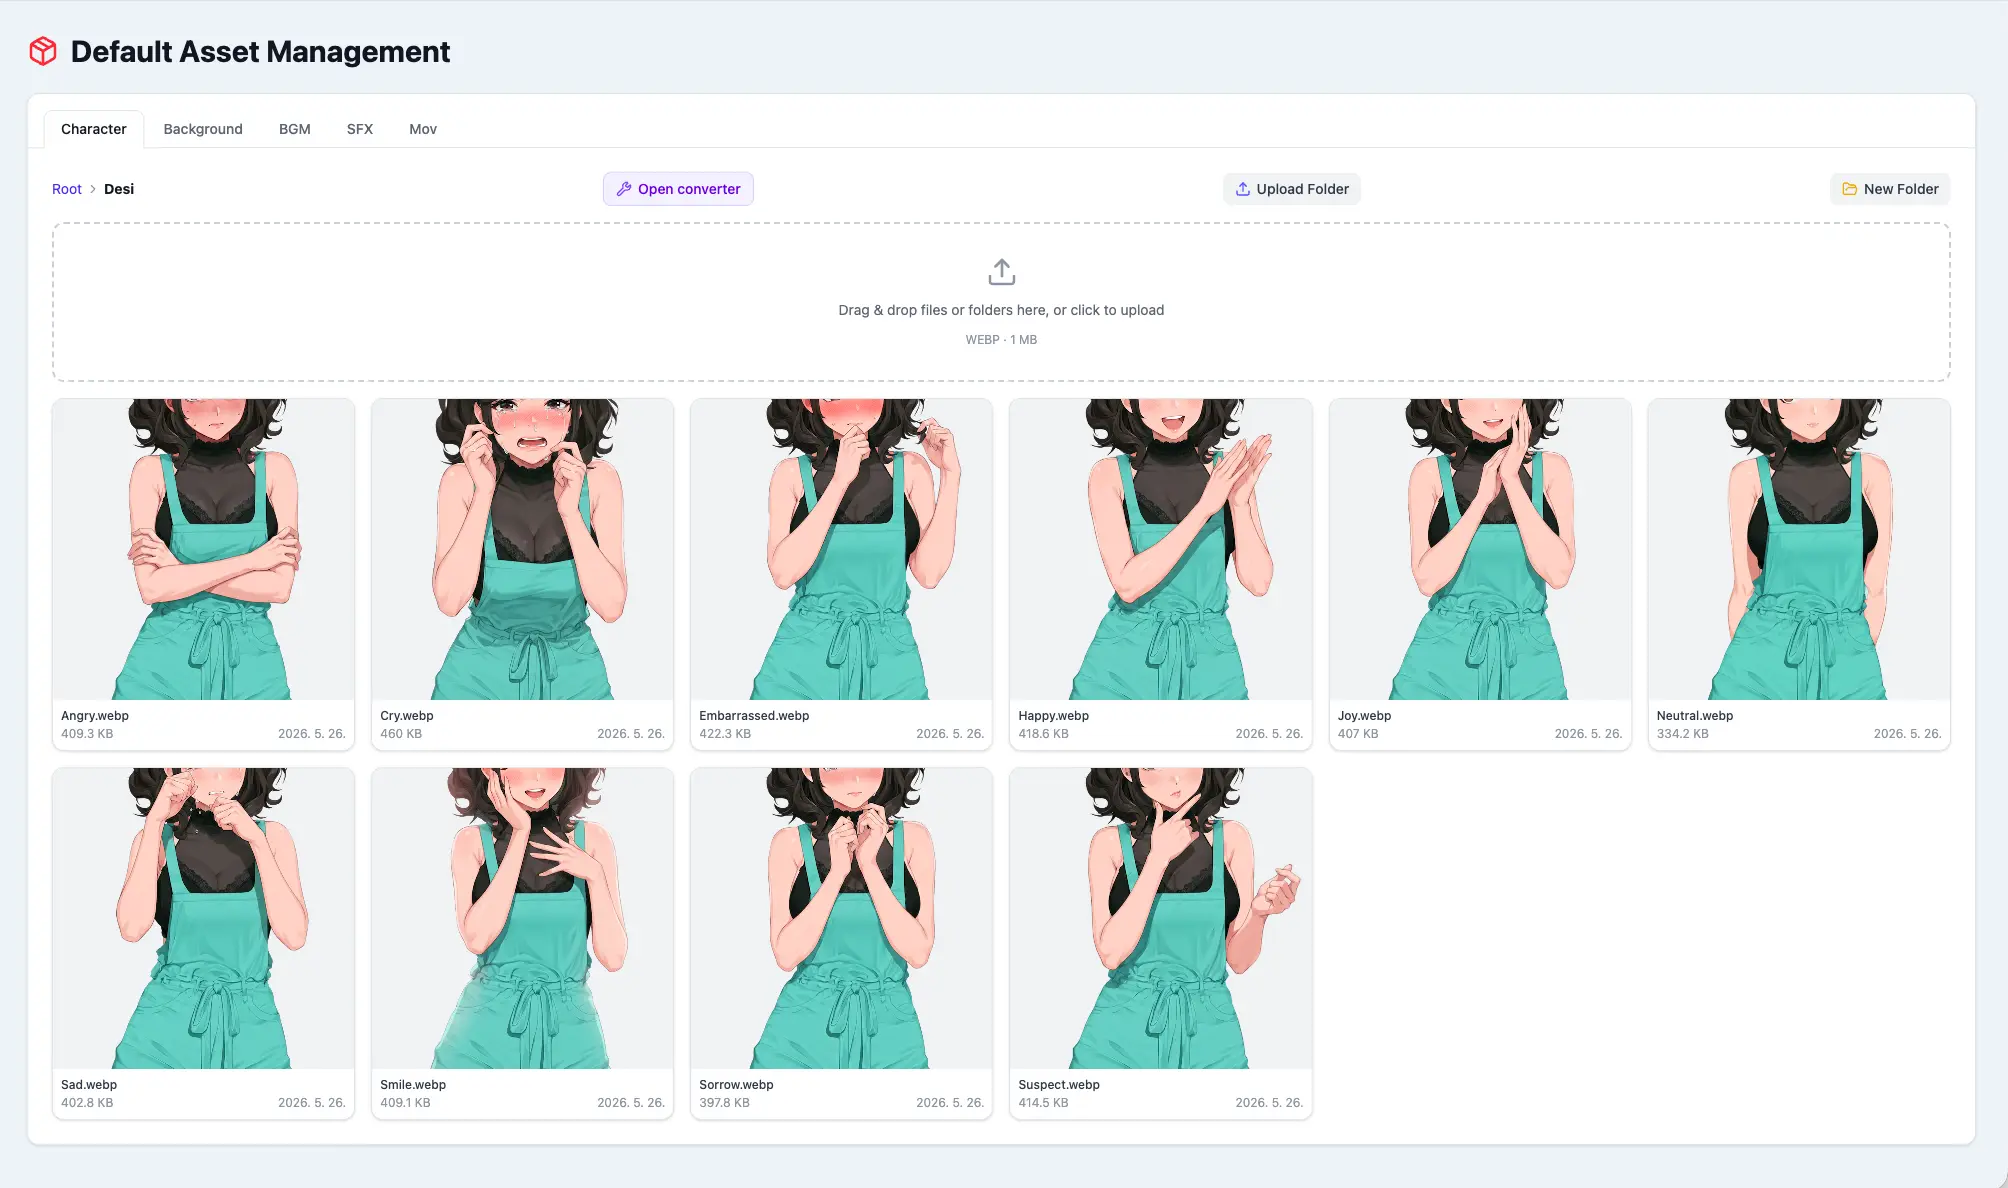
Once everything's converted, download them all, select the lot, and drag them back into the character folder. That's it!
🎬 Bring Desi into your game
Now Desi is available across all your games. With multiple expression cuts ready to swap, the character starts to feel alive — switching cuts based on what's happening on screen really does make a difference.
It looks like a lot of steps the first time, but trust me, the next character comes together fast. Mine used to take ages — now I'm done in 30 minutes flat.
Happy creating! And if you get stuck anywhere, hit me up by DM or email. Seriously, no question is too small. 🙌
May 26, 2026