What Size Should Visual Novel Sprites and Backgrounds Be?
July 27, 2026
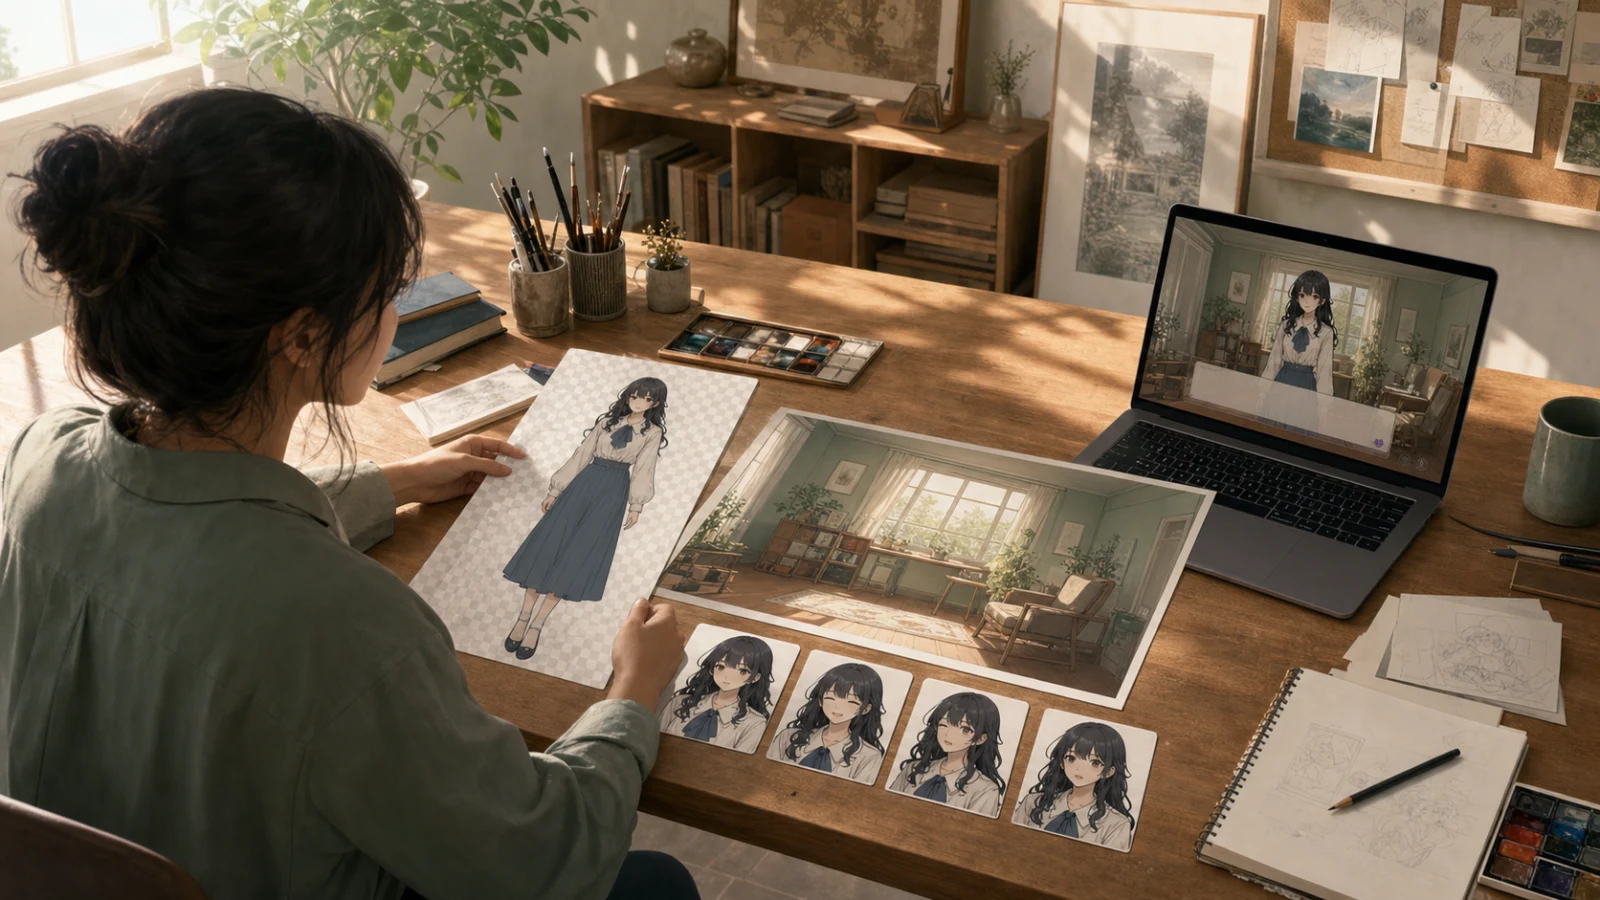
Have you ever drawn a beautiful character, dropped the image into a visual-novel scene, and thought, “Why does this suddenly look tiny, blurry, or weirdly cropped?”
Yeah, that is a frustrating moment. The drawing may be fine. The problem is often that the game canvas, background, and character sprite were prepared as three unrelated images.
The good news is that there is no secret universal pixel size you have to memorize. You need one clear target canvas, a consistent way to frame characters inside it, and source files large enough to survive resizing.
Here is the practical answer: for a modern desktop-first visual novel, 1920×1080 is a sensible working target. A lightweight web prototype can use 1280×720. Make backgrounds match that target exactly, keep higher-resolution master art, and export transparent character sprites tall enough to cover their largest intended on-screen size.
That answer still leaves a few important choices, so let’s build an asset setup that will not fight you later.
🖼️ What does “canvas size” actually mean?
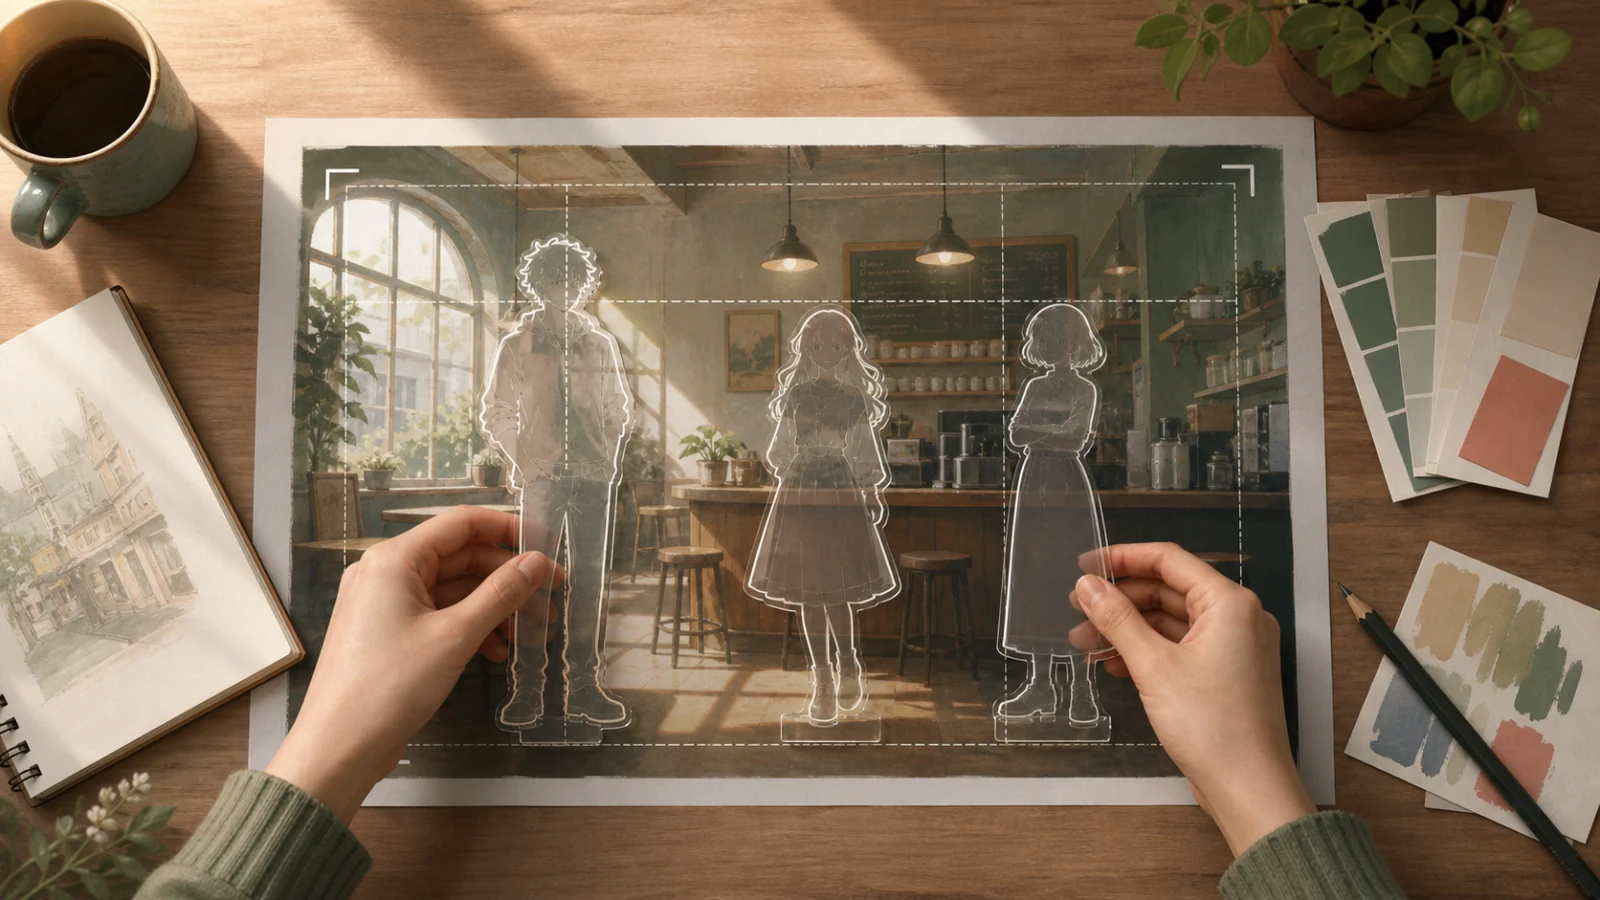
Think of the game canvas as the stage the player sees.
If your target is 1920×1080, every scene is composed inside that 16:9 rectangle. A background usually fills the whole stage. A character sprite occupies part of it. The dialogue box, choices, effects, and interface sit on top.
The canvas is not necessarily the size at which you draw your original art. An illustrator might paint a background at 3840×2160 and export a 1920×1080 delivery copy. A character master might be 2500 or 3000 pixels tall even if the displayed character is much smaller.
That separation is useful:
1️⃣ Master files preserve detail and give you room to revise.
2️⃣ Delivery files match the game’s needs and load quickly.
3️⃣ The player preview tells you whether the final scale actually works.
Pick the delivery canvas before commissioning or generating dozens of assets. Changing from 4:3 to 16:9 halfway through production can expose empty edges, crop important props, and force every character position to be reviewed again.
🌄 What size should visual-novel backgrounds be?
The safest rule is simple: export backgrounds at the same aspect ratio and pixel dimensions as the target canvas.
For a 1920×1080 game, deliver a 1920×1080 background. For a 1280×720 prototype, deliver 1280×720. Keep a larger master if you may pan, zoom, crop, or later move to a higher-resolution build.
Do not solve every problem by uploading the largest image possible. A huge file still has to be decoded and displayed. It can make browser previews slower without improving what the player sees.
When preparing a background, also check:
- Safe character space: leave useful open areas where sprites can stand without covering the important object.
- Dialogue-box space: avoid placing the only visual clue at the bottom where the interface may hide it.
- Crop tolerance: keep essential faces, doors, signs, or clues away from extreme edges.
- Repeat use: if the room appears in day and night scenes, plan color variations from the same composition.
- No baked-in characters: keep recurring characters separate unless the image is a one-time CG.
A background is not just scenery. It is a staging surface.
🎭 How tall should a character sprite be?
There is no single correct number because a full-body character, a waist-up portrait, and a close emotional shot occupy different amounts of the screen.
For a 1080p target, a practical exported sprite is often around 1000–1600 pixels tall, depending on how close the character appears. Keep the original master around 2000–3000 pixels tall or larger if your art process supports it, then export a clean delivery version.
The more important rule is this: the exported sprite must be at least as large as its biggest intended display size. Enlarging a small image inside the game creates blur. Shrinking a larger clean image is usually safer, although extremely oversized files waste storage and load time.
Also decide the framing family before drawing expressions:
- full body for spatial staging;
- thigh-up for everyday dialogue;
- waist-up for character-focused scenes;
- bust or close-up for rare emotional emphasis.
Do not casually mix all four. If one character is always thigh-up and another arrives as a tiny full-body cutout, they can look like they belong to different games.
✂️ How much transparent space should a sprite keep?
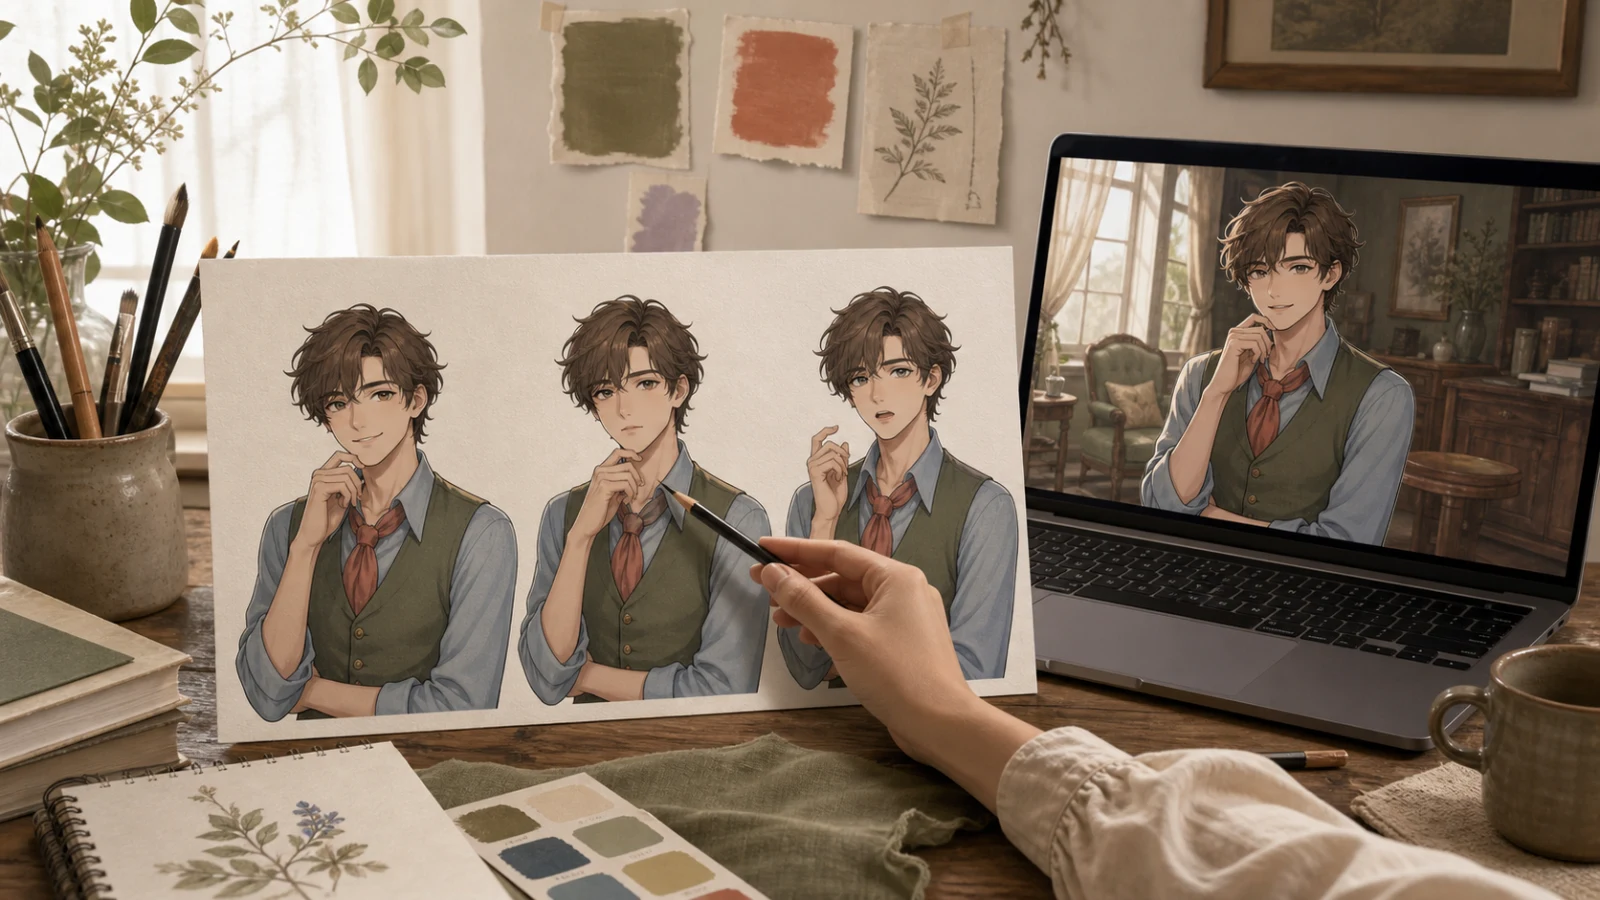
Keep enough transparent margin that hair, hands, accessories, and expressive gestures are never cut off.
But avoid wildly different canvas boxes. If one expression file is tightly cropped around the face and another contains a large invisible border, swapping expressions can make the character jump.
Use the same canvas dimensions, anchor point, and body position for every expression in one pose family. The eyes, shoulders, and feet or lower crop should line up from file to file.
A simple production test helps:
1️⃣ Stack every expression as layers in one document.
2️⃣ Toggle between them quickly.
3️⃣ Watch the eyes, shoulders, and silhouette.
4️⃣ If the body shifts when only the face should change, realign before export.
Transparent PNG is the familiar choice for character art. WebP can also support transparency and usually reduces file size. JPEG is useful for opaque backgrounds, but it cannot preserve a transparent character cutout.
🙂 How many expressions do you need?
You probably need fewer than you think, especially for a first playable build.
Start with an acting set, not an emotion dictionary:
- neutral or listening;
- warm or pleased;
- worried or hesitant;
- upset or defensive;
- one story-specific expression that only this character needs.
The key is contrast. Five expressions that change the scene are more useful than twenty nearly identical smiles.
Before ordering more art, put temporary labels or rough faces into the actual scenes. You may discover that a character needs “trying not to laugh” far more often than “extremely angry.” The script should decide the expression list, not a generic asset template.
For pose variations, ask whether the gesture changes the reading of the line. A hand over the mouth, folded arms, or turned shoulders can matter. A second pose that looks almost the same may only make file management harder.
🎬 What about CGs and special illustrations?
Treat a CG like a background-sized scene unless you have a deliberate camera effect.
For a 1920×1080 target, export the CG at 1920×1080 and retain a larger master. If the scene will pan across a wide illustration, the source needs extra width. If you will zoom into a face, the source needs enough detail for that crop.
Do not hide story-critical information outside the normal frame and assume every device will crop it the same way. Preview the actual build.
Also separate a scene CG from a thumbnail or cover. A cover must still read when shown small in a gallery. A story CG can depend on context and timing. Reusing one file for both often weakens both jobs.
📦 Which file format should you use?
Choose by what the image needs:
- Character sprite with transparency: PNG or transparent WebP.
- Painted background: WebP or JPEG; PNG only when the content truly benefits from lossless detail.
- CG or cover: WebP is a strong default for balancing detail and size.
- Editable master: keep the layered source separately; do not upload it as the delivery asset.
Use simple, stable names such as:
mira_neutral.webpmira_worried.webpcafe_day.webpcafe_night.webpcg_rooftop_confession.webp
Avoid names like final_final2_reallyfinal.png. Once those files are attached to scenes, unclear naming turns every correction into a scavenger hunt.
🧪 How do you know the assets are actually ready?
Do not approve them by checking dimensions in a folder. Put them into the player.
Preview at the real target size and ask:
1️⃣ Does the character’s head stay inside the frame during every expression?
2️⃣ Do characters feel like the same physical scale?
3️⃣ Does the background leave enough room for dialogue staging?
4️⃣ Are edges clean against both light and dark backgrounds?
5️⃣ Does swapping expressions keep the body anchored?
6️⃣ Does the scene load quickly on an ordinary connection?
7️⃣ Can the important action still be understood with the dialogue box visible?
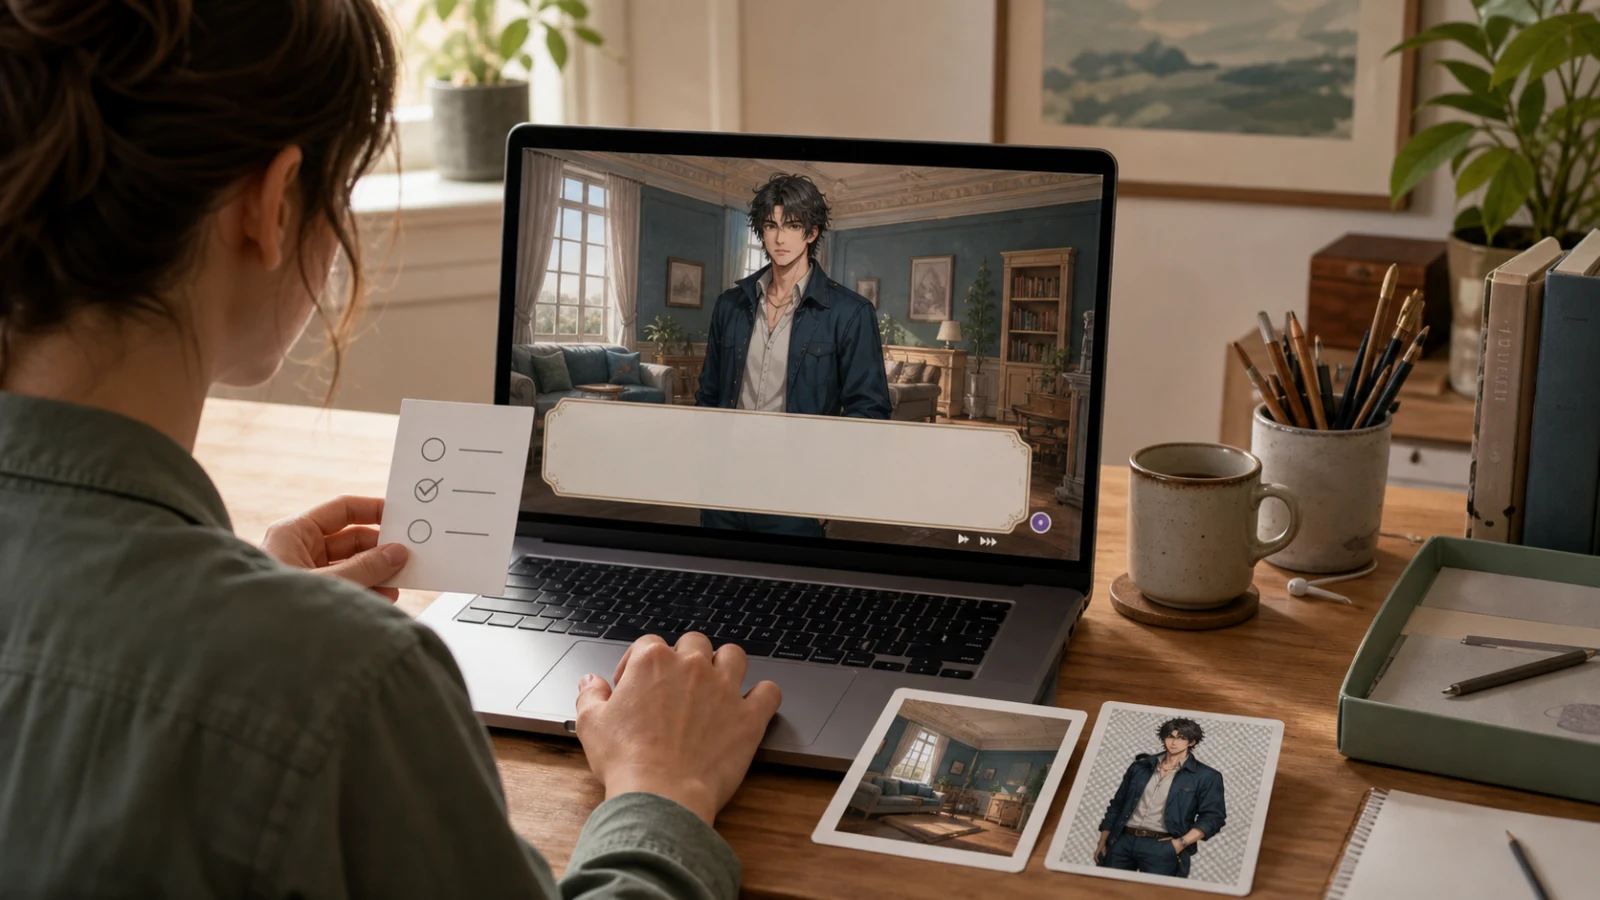
Then test one crowded scene, one close emotional scene, and one scene with two characters. Those three reveal most scale and crop problems quickly.
If something looks wrong, fix the source system instead of nudging every scene by hand. A consistent anchor or export preset saves far more time than dozens of local corrections.
🌿 Where Novelez fits
Novelez lets you organize character images, backgrounds, and music in a browser-based no-code editor. It supports PNG, JPG, and WebP image files, and the built-in player lets you place the assets into scenes and preview the result before sharing.
That makes the workflow straightforward: choose the target canvas, export a small consistent asset set, add it to the timeline, and inspect the actual player. The Flow view helps you see where scenes branch, while the Timeline keeps dialogue, characters, backgrounds, and audio together.
When the web version feels right, you can share it through the gallery. Novelez can also export to Ren’Py as a path toward a PC build, where you can continue refining engine-level presentation.
✅ A copyable asset handoff checklist
Before importing the full art pack, confirm:
- one target canvas and aspect ratio are written down;
- backgrounds match the delivery canvas;
- larger layered masters are preserved separately;
- every expression in one pose family shares the same dimensions and anchor;
- sprite files include safe transparent margins;
- transparent art uses PNG or WebP, not JPEG;
- covers, CGs, backgrounds, and sprites have different jobs;
- filenames are stable and readable;
- a two-character scene has been previewed at the actual player size;
- load time and edge quality have been checked in the browser.
If those ten items are true, pixel dimensions stop being a guessing game. Every asset has a role, a scale, and a place on the same stage.
Pick the canvas first. Prepare one character and one room. Then put them in the player before you make the next twenty files. 🎬
July 27, 2026