Uploading Assets
Uploading Assets
Novelez supports two upload methods — a file picker and drag-and-drop. Both methods accept several files at once.
Where You Can Upload
Uploads are only allowed to My Assets or Project Assets. Default assets are read-only and cannot be uploaded to.
- Upload to My Assets: On the Assets page in the dashboard, switch to the My Assets tab, then upload.
- Upload to Project Assets: Open the project in the editor, launch the asset picker and switch to its Project assets tab, then use the Upload files / or drop them here card inside it — click the card or drop files onto it. Alternatively, on the dashboard Assets page choose the project under Target project and switch to the Project Assets tab, then upload.
In the editor, the asset picker opens from buttons in the Script column such as [Choose image]. Note that in the Tutorial project you cannot upload to the Project assets tab (uploading to My assets still works).
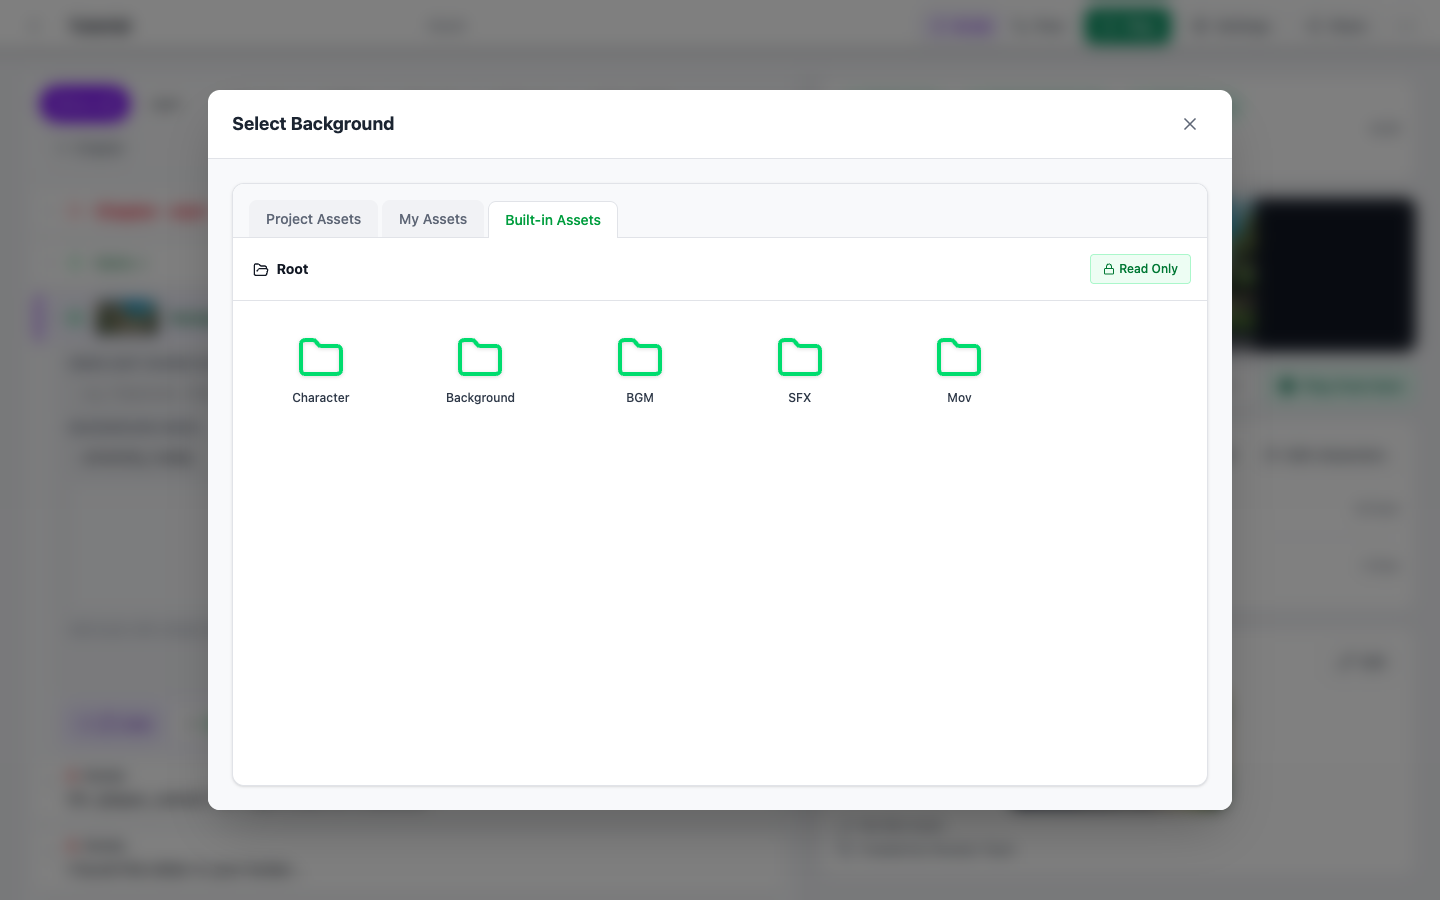
Where Files Go: Inside Category Folders
My Assets and Project Assets each have five top-level category folders: Character · Background · Bgm · Sfx · Mov. Files can only be uploaded inside these folders (or sub-folders you create within them), not at the top level (root). Each folder accepts specific file types up to a maximum size, and the rules are shown at the top when you open the folder.
How to Upload
1. File Picker
Click the upload button in the asset area (in the asset picker, the Upload files card) to open your operating system's file picker. Select one or several files and the upload begins immediately (the file picker lets you choose multiple files at once).
2. Drag and Drop
Drag one or several files from your file explorer (Finder on macOS) and drop them onto the asset area (in the asset picker, the or drop them here card). Dropping inside a folder uploads the files directly into that folder.
Batch Upload
Choosing several files in the file picker, or dropping several files at once with drag-and-drop, gives you a batch upload. Files upload in parallel, which is much faster than uploading them one at a time.
Upload Limits
Each file must match the format and maximum size of the folder you upload it to. Files that do not match are rejected with the reason, along with a link to the converter tool for changing the format. Images are automatically converted to WebP at upload time when possible.
Uploads that would exceed your account's storage space are also rejected. You can check your current usage on the dashboard Settings page; if you run out of space, delete files you no longer use.
Supported formats and sizes for each folder are described in "Supported Formats & Storage".
Next Steps
Once your files start piling up, the next page explains how to organize them into folders.