Your First Project
Your First Project
There are two ways to start a new project in Novelez: write a single first line on the Start screen that opens right after sign-up, or click New project on the Projects page of the dashboard. Either way, the editor opens the moment the project is created, with the cursor already in the first line of dialogue.
Writing a First Line on the Start Screen
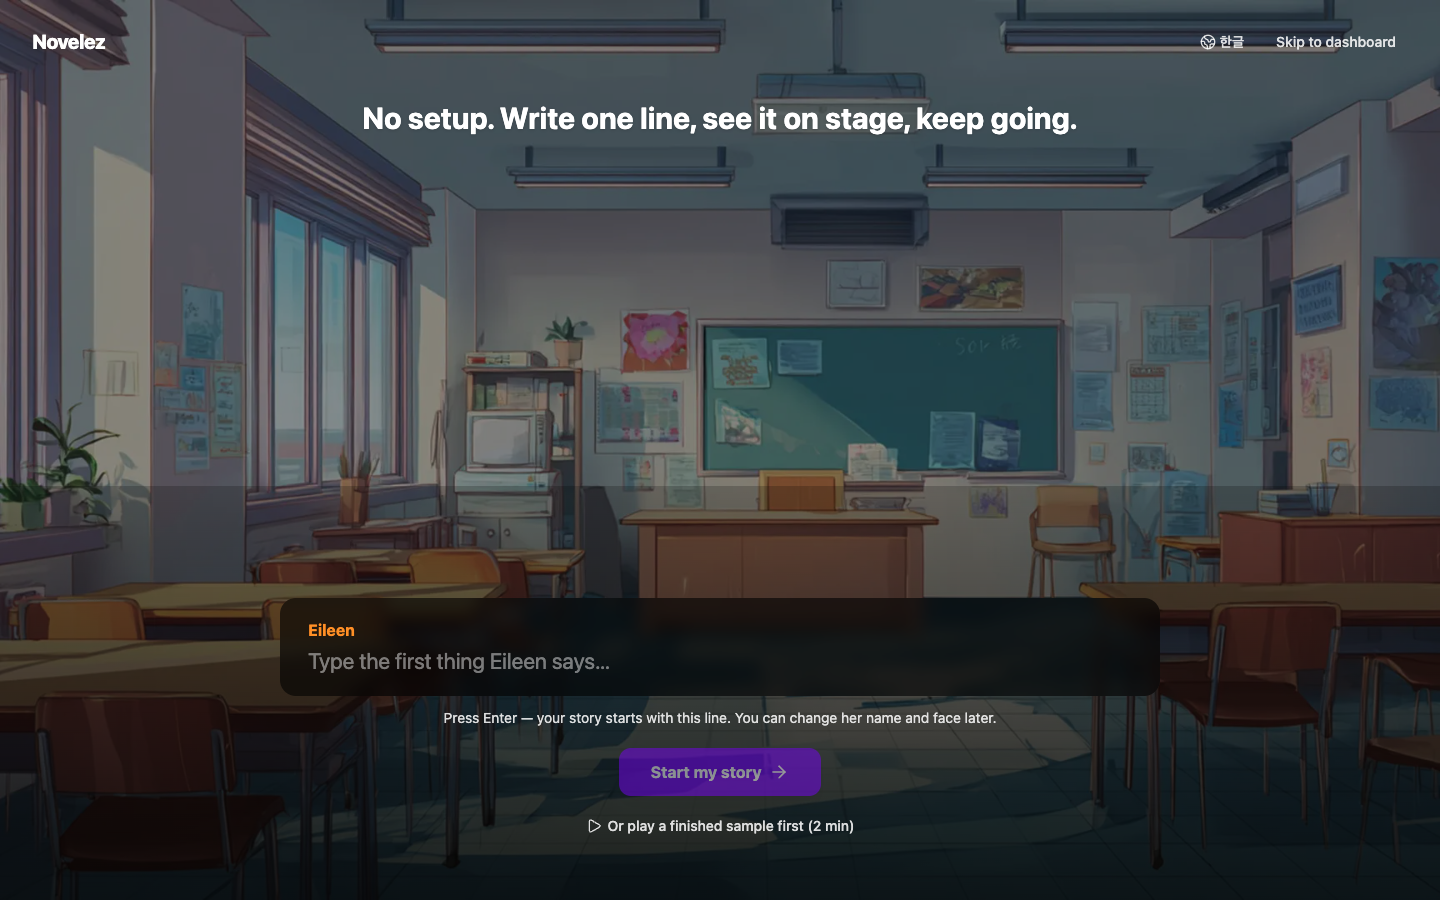
If you have no projects other than the Tutorial when you log in, the Start screen opens. It shows a classroom-background stage with the name tag of the default character, Eileen, and a first line input, along with the text "No setup. Write one line, see it on stage, keep going."
- Type the first thing Eileen says in the input ("Type the first thing Eileen says…").
- Press Enter or click [Start my story].
- The project is created and the editor opens with the cursor in the line you just wrote. Press Enter again to add a new line of dialogue below it, spoken by the same character.
The project title starts as Untitled story. Click the title field in the editor header to rename it right away. Eileen's name and face can also be changed later.
The Start screen has two more ways out:
- [Play a finished sample, then tour the editor (~2 min)] — a link below the input; the Tutorial project plays automatically from the title screen. When you close the sample, the 9-step walkthrough begins.
- [Skip to dashboard] — at the top right of the screen (the header); go to the dashboard without creating a project.
Creating a Project from the Projects Page
If you already have projects, or you would rather choose a title first, create one from the dashboard.
- After logging in, click Projects in the left sidebar of the dashboard.
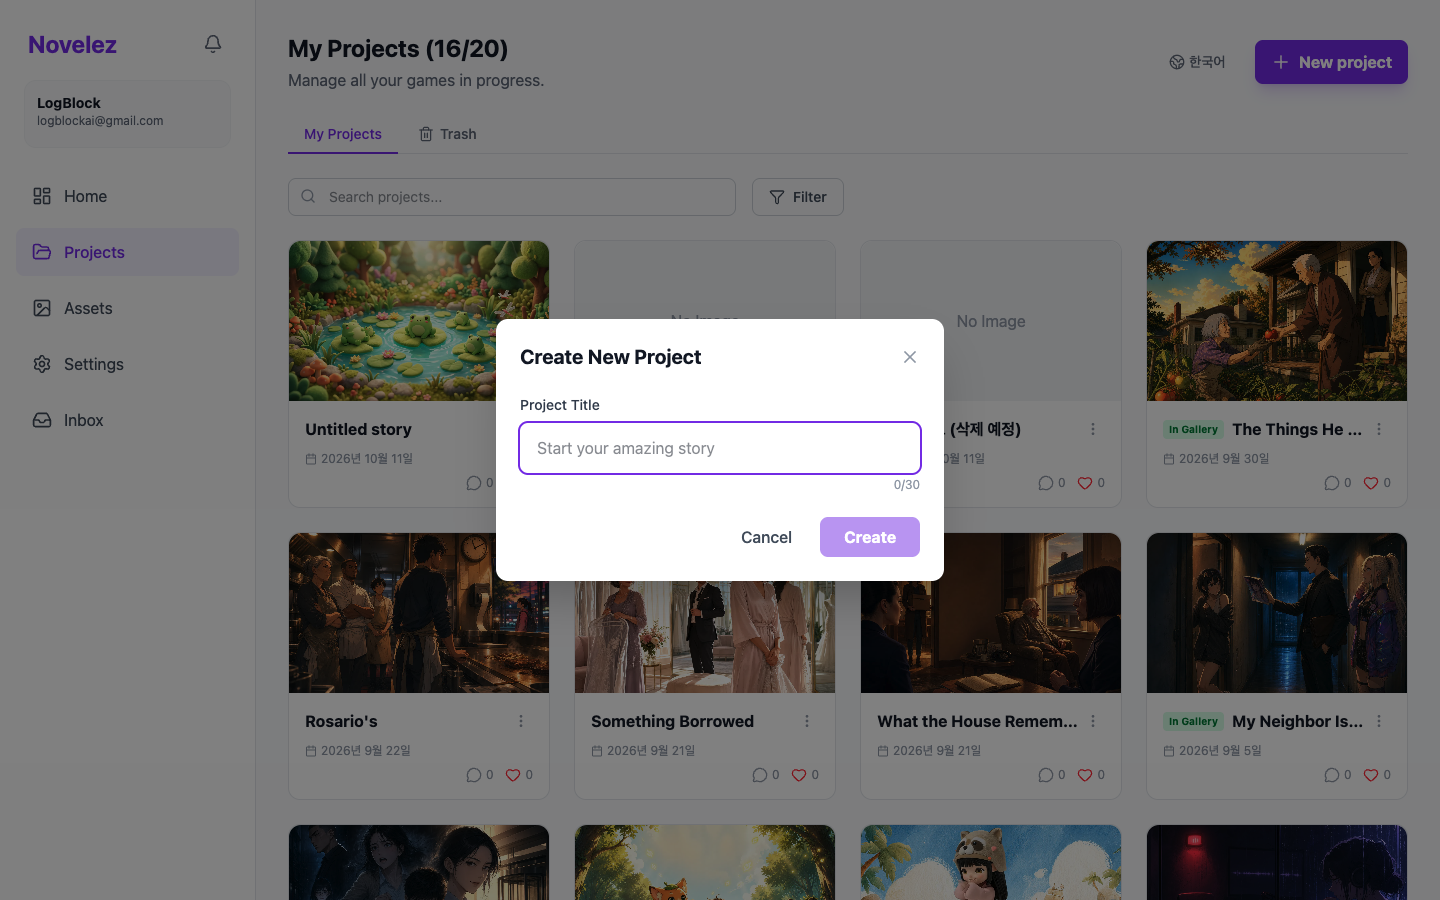
- Click the New project button in the top right.
- In the dialog that appears, enter the Title of your game. You can change it later at any time.
- Click Create. Your project will be created and the editor will open automatically, with the cursor in the first line of dialogue.
Each account can create 1 project (5 for accounts created before October 14, 2026). If you reach the limit, delete a project you no longer need to make room for a new one.
The Tutorial Project
When you first sign up, a default project named Tutorial is automatically added to your project list. This is a learning project that lets you explore the Novelez editor hands-on, and it does not count toward your project quota. The Tutorial is added only once, so it will not be recreated if you delete it.
Managing Your Projects
The Projects page in the dashboard lists every project you have created. From each project card you can:
- Edit — Open the project in the editor
- Delete — Move the project to the trash
Deleted projects are kept in the Trash tab for 30 days, and you can Restore them during that time. Projects older than 30 days, or ones you Delete permanently from the trash, cannot be recovered, so please proceed with care.
Auto-Save
Your work in the editor is saved automatically — 3 seconds after you stop typing (game settings included), and right away when you leave the editor. The current state ("Saving…", "Saved · 14:32", or "Waiting to save…") is shown next to the title in the header. If you try to close or refresh the window while there are unsaved changes, the browser will ask you to confirm, so you will not lose work in progress. If you delete a block or change something by mistake, press Ctrl+Z outside a text field to undo (⌘Z on a Mac).

Next Steps
With your project created, the next step is to get familiar with the layout of the editor.