Using the Built-in Tutorial
Using the Tutorial Project
Novelez provides a built-in project called Tutorial so you can learn the editor hands-on inside a real project. It is added automatically when you first sign up and does not count toward your project quota. It is added only once, so it will not come back if you delete it.
How to Launch
There are two ways in.
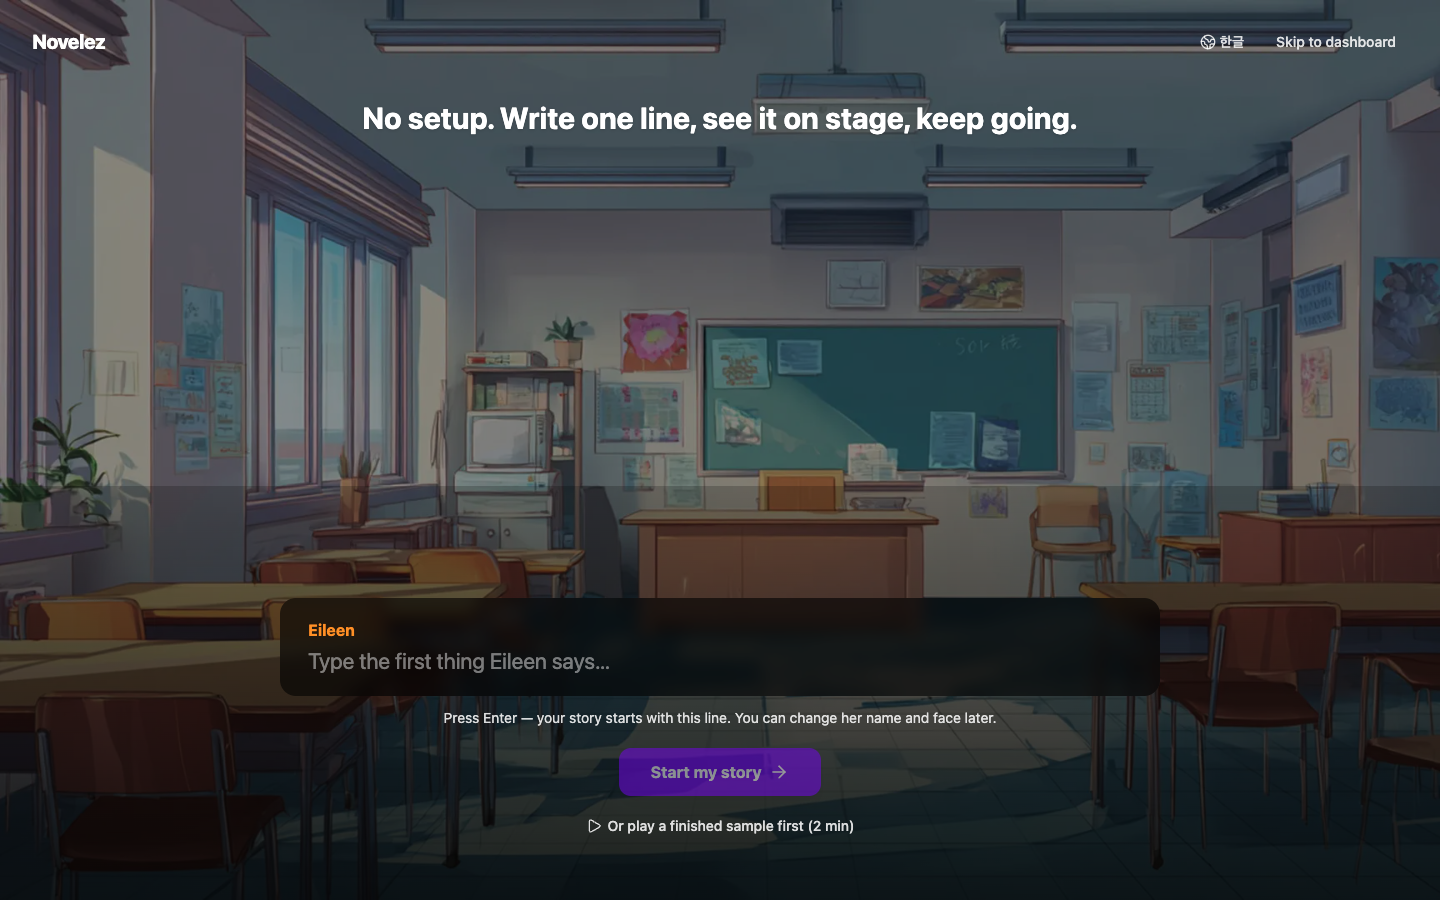
Option 1. Watch the sample from the Start screen
- Click [Play a finished sample, then tour the editor (~2 min)] below the Start screen input.
- The Tutorial project plays automatically from its title screen, so you can see what a finished game looks like.
- When you close the sample, the 9-step walkthrough begins in the editor.
Option 2. Open it straight from your project list
- Go to the Projects page in the dashboard.
- Find and open the Tutorial project in your project list.
- As soon as you enter the editor, the 9-step walkthrough starts — without the sample playing first.
Tutorial Structure
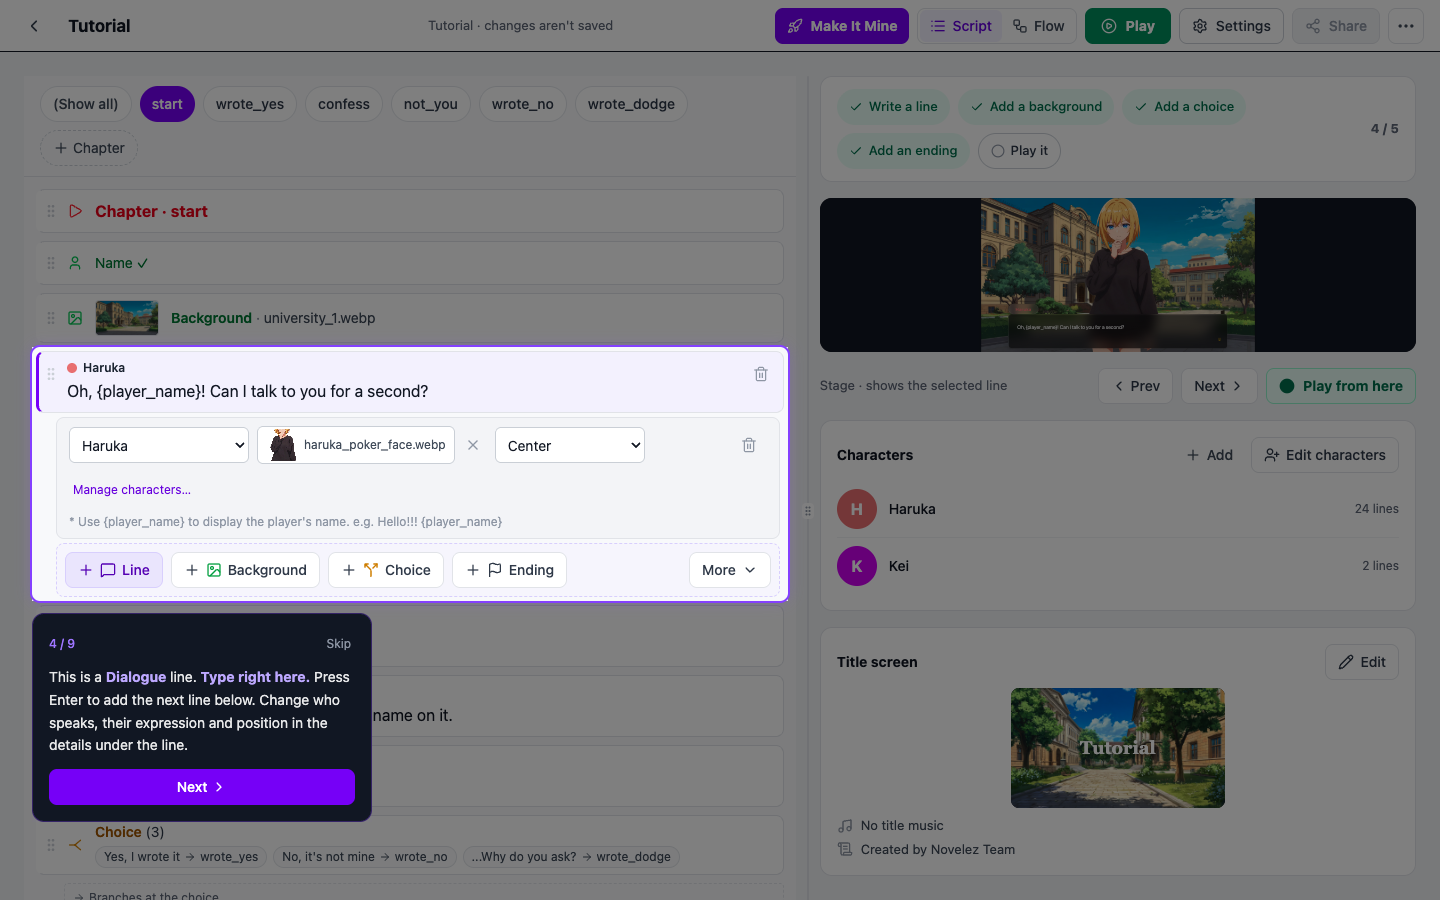
The walkthrough has 9 steps. At each step only the relevant line or button is lit, and the rest of the screen is dimmed.
- Chapter line — Introduces chapters, the units that divide your story.
- Player info line — Introduces the Player info block.
- Background line — The line that sets a scene's background.
- Dialogue line — Type straight into the line, and press Enter to start a new one.
- Show character line — Puts a character on screen.
- Choice line — Shows how [Make branch] creates a branch chapter from a choice.
- Ending line — The line that ends your story.
- [Settings] in the header — The button that opens the title screen, music, credits, and other game settings.
- [● Play from here] under the Stage — Runs the game from the selected line. To start from the title screen instead, use [Play] in the header.
Trying Things During the Walkthrough
The walkthrough never locks the screen. The lit-up area is fully usable — at step 4, for example, you can type into the dialogue line and press Enter to add a new one.
- Next — Moves to the next step.
- Skip — Closes the walkthrough. This is the only button that closes it.
The Final Screen
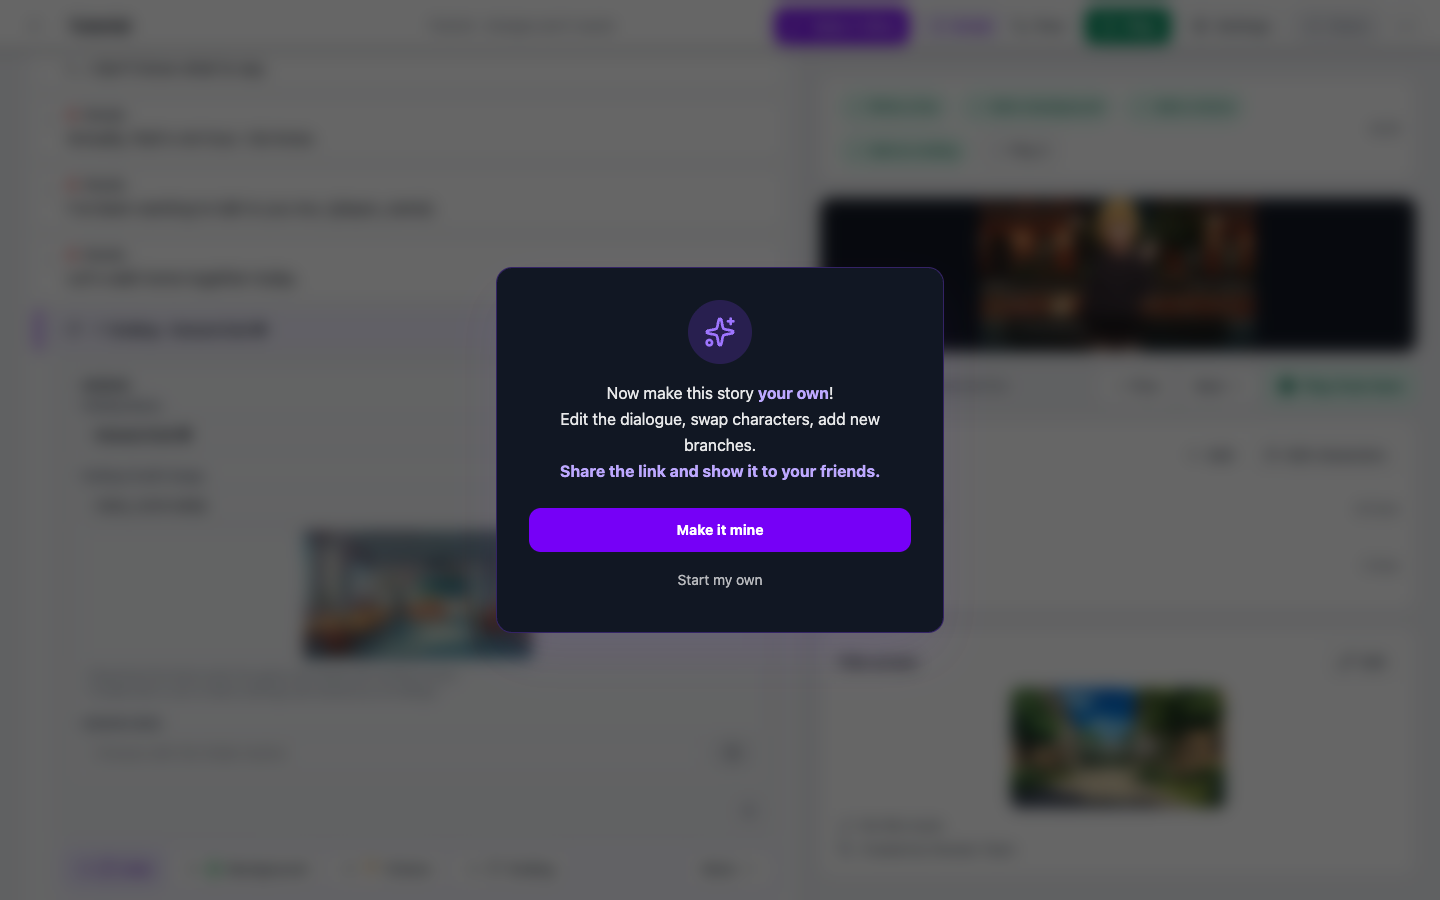
After step 9, a final screen says: "Now make this story your own! Edit the dialogue, swap characters, add new branches. Share the link and show it to your friends."
- [Make it mine] — Copies the Tutorial, including the changes you made in it, into a regular project of yours that you can edit and save.
- [Start my own] — Takes you to the Start screen to write a new story from scratch.
Tutorial Limitations
Because the Tutorial is a learning-only project, a few things are restricted:
- Changes you make in the Tutorial are not saved, and the save status in the header reads "Tutorial · changes aren't saved".
- Share, Ren'Py export, and uploads to the Project assets tab are not available. Export as text (.txt) works, and you can still upload to My assets from the same picker.
If you want to build on the Tutorial story yourself, click [Make It Mine] in the header (or on the final screen). The Tutorial is copied into a regular project of yours that you can edit and save.
Tips
- First-time users are encouraged to complete the Tutorial project before starting their own project.
- When you forget how a feature works, reopen the Tutorial project and review the relevant step.
- The steps follow the order chapter → player info → background → dialogue → character → choice → ending → settings → play, so you learn the flow of building a story in order.
- Click and type in any lit-up line, as you can at step 4. Nothing in the Tutorial is saved, so feel free to experiment.
- The tip about [● Play from here] is especially useful when testing late-game scenes.
Next Steps
This is the last page of the Getting Started chapter. The next chapter covers how to prepare assets and configure project settings.